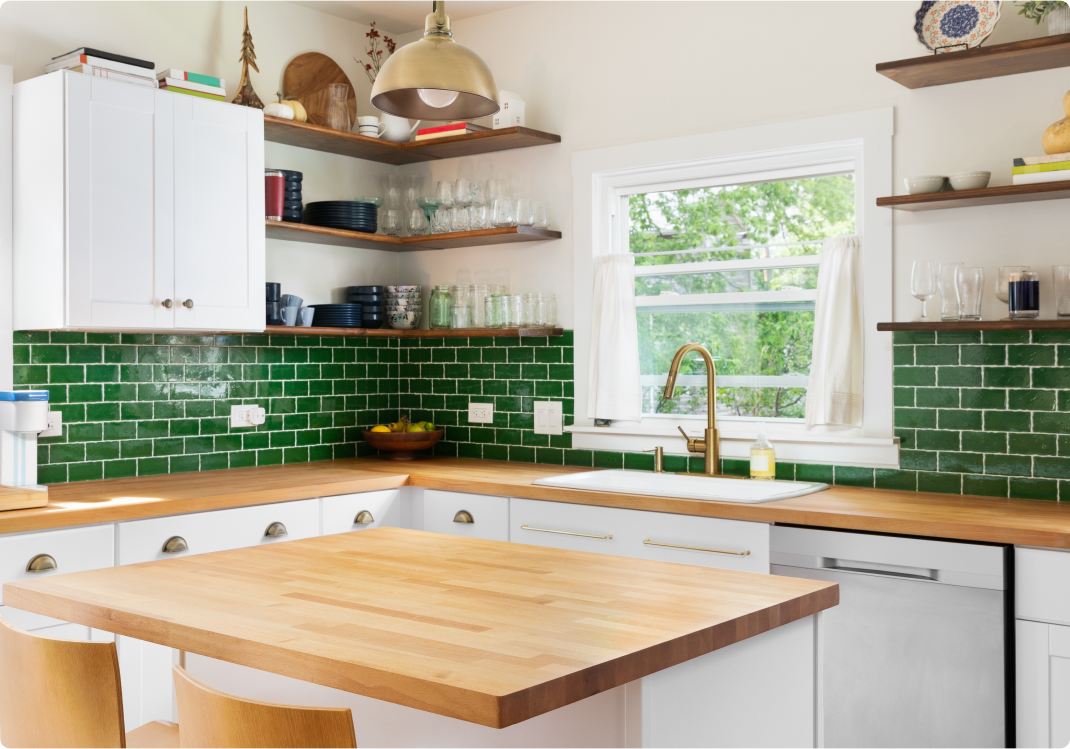
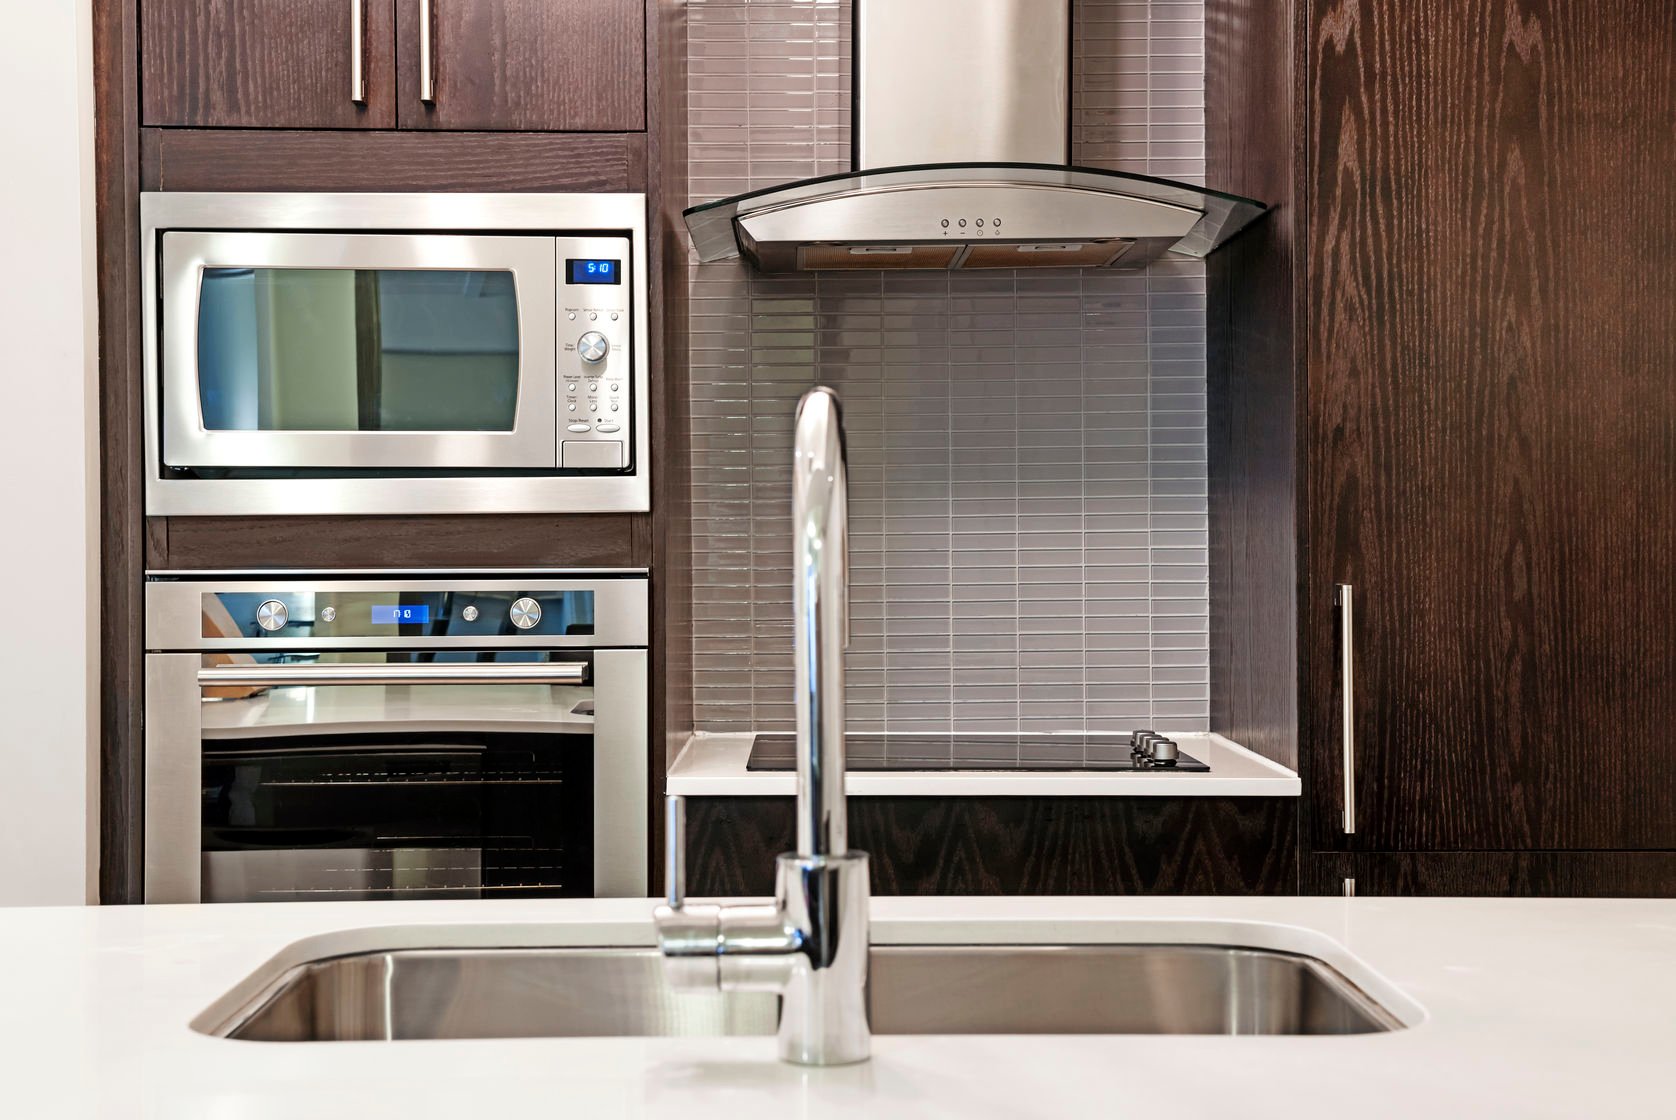
Step 6 — Install the Backsplash Tiles
Start setting the tile at the bottom of your center line. Leave just enough room for a bead of caulk. You’ll want to firmly press each tile onto the wall. Continue working your way outward in both directions.
Step 7 — Cut Tiles to Fit as Needed
You’ll need a wet saw to cut tiles so they fit around outlets, light switches, and in odd gaps. Luckily, you can rent a motorized wet saw from your local hardware store.
To use the saw, lay the tile on the sliding table and push it forward to make your initial cut. You’ll want to pull back and adjust your tile for the second cut. After your pieces are cut and applied, let your adhesive dry overnight.
Step 8 — Fill the Tile Joints With Grout
Once your tiles have had time to dry, mix a batch of unsanded tile grout, following the directions on the carton. Scoop a portion of the grout out of the bucket and smear it across the surface of the tile diagonally to the grout lines.
Step 9: Finish
After grouting, you are going to want to clean the surface with water and a soft sponge. Wipe across the grout line and be sure not to pull any grout from the joints. Give your grout 45 minutes to set, then you’re ready to apply caulk. Apply a thin bead of tub-and-tile caulk into the joint at the bottom of your backsplash, in corners and between the tile and any cabinets.
Ready for more DIY projects? We have plenty of ideas for sprucing up your kitchen. We can walk you through projects like deep cleaning your kitchen and unclogging that kitchen sink drain. That’s not all – you can be sure components of your appliances and systems are covered with a home warranty plan from American Home Shield®. We have plans for every budget, so call or go online today and find the one that’s right for you.
If you’re already an AHS member, we’re here for you when you need us. You can request service in MyAccount 24/7.


