

  1. AHS
  2. Blog
  3. Repair & Maintenance
  4. 3 Easy DIY Projects to Fix Your Garage Door
Double garage doors
Double garage doors

3 Easy DIY Projects to Fix Your Garage Door

We’ve rounded up some helpful step-by-step instructions on how to fix your garage door and perform small steps to keep it running smoothly in the future, so you don’t have to replace your garage door.

You just made it home after a long day of work or running errands, and you’re ready to settle in, eat some dinner, and catch up on your favorite TV show in peace. Unfortunately, your garage has other ideas. After clicking your remote, the door begins to rise but abruptly stops a few feet in the air. Just your luck, right? Now, instead of relaxing and soaking in all of that TV drama, you’re still trying to fix the garage door.

So, what’s the issue? Perhaps you have a problem with bad weather seals or rotting trim. These are all normal wear and tear issues that happen over time. But it’s nothing that a little DIY garage door maintenance can’t fix. Though your garage door is not covered by an American Home Shield® home warranty, we do offer home service plans that include your garage door opener as well as coverage for other home systems and appliances that you use every day. 

How to Weather Seal Your Garage Door

We all know we need sunscreen to keep us safe from the summer rays and cold weather gear to keep us warm in the winter. But did you know your garage needs protection too? Don’t let summer temperatures overheat your garage or winter ones freeze it. Instead, use weather seals and garage door insulation to control the air. The good news is that this home protection project can be done in one day for as low as $100 on a regular-sized garage. Learn how to DIY your garage door with insulation and potentially save some time and money.

Here are the materials you’ll need:

  • V-strip weather stripping
  • Screwdriver
  • Scissors
  • Dish wash soap
  • Caulk
  • 1-inch screw
  • Drill
  • Adhesive
  • Threshold

Step 1: Measure the Garage Door for the Seal

Before installing your garage door seal, it’s important that you get the correct measurements for the garage door. Start by sizing the width, height, and thickness of your door. Next, it’s time to take a trip to the home center store. You’ll need to buy a garage door seal kit, or V-strip weather stripping, which is a tube filled with exterior caulk (water-proof sealant). If you have a wooden door, this will also include a can of wood sealer. For a more powerful garage door weather seal, you can use a rubber threshold or strip of wood.

Step 2: Remove Your Old Garage Door Weather Seal

garage-door-seal.jpeg

Via DDM Garage Doors

Once you’ve measured and gathered these materials, raise your door about 6 feet high so that the track doesn’t interfere with the seal. Then, begin to pull that old garage door weather seal out. If needed, a screwdriver works great for prying crimped track ends open. You may have to cut them into pieces if they’re really hard to pry.

cut-stripping-to-fit-together.jpeg

Via Pretty Handy Girl

You don’t want to have any dirt or corrosion in the garage door track, so clean it out by using a screwdriver and stiff brush. Next, using scissors, cut the weather seal into its needed length.

Using dish soap, lubricate the rubber. Then, you’ll need to thread the T-shaped edges into the seal track and slide it through the garage door. During this step, patience is key. Remember that pushing and pulling the seal into the garage door track is not a skip-and-a-hop process, even with a second pair of hands.

If you have a wooden garage, tear off the nailed rubber seal and attach the wood using a wood sealer. As it dries, get the aluminum garage door track ready by cutting it to the needed length. Then, place the track into the caulk and make sure that it is secured tightly inside the bottom of the door. Next, using a 1-inch screw, drill the track behind the door.

Get the areas within the door sections ready by removing any dirt or debris with a rag and household cleaner. Be careful while doing this to avoid pinching your fingers. Next, cut the weather stripping into pieces that make up the width of the door and fold the crease over so that the “V” faces outward. Place the clear strip in between sections of the garage door, tear off the adhesive backing, and stamp it into place. Repeat this for each section.

Step 3: Install the Threshold

Now, it’s time to take on the threshold. Begin with a good cleaning to the concrete using water and degreaser. Once this is washed off and dry, follow the label directions and squeeze out the adhesive. Then, align the strip of wood along the hump that’s inside the garage door and cut it into the width of the opening. Press the door down gently onto the threshold, making sure that the hump connects to the door seal. Leave the door shut firmly against the threshold until the adhesive is dry.

Step 4: Install the Stop

install-stop.jpeg

Via House Logic

Finally, the door stop needs to be slid against the door, allowing the vinyl seal to bend at nearly a 45-degree angle. Next, nail the stop into position using aluminum 1.5-inch nails.

Thinking about coverage?

Sounds like a plan. Find the warranty that fits you best.

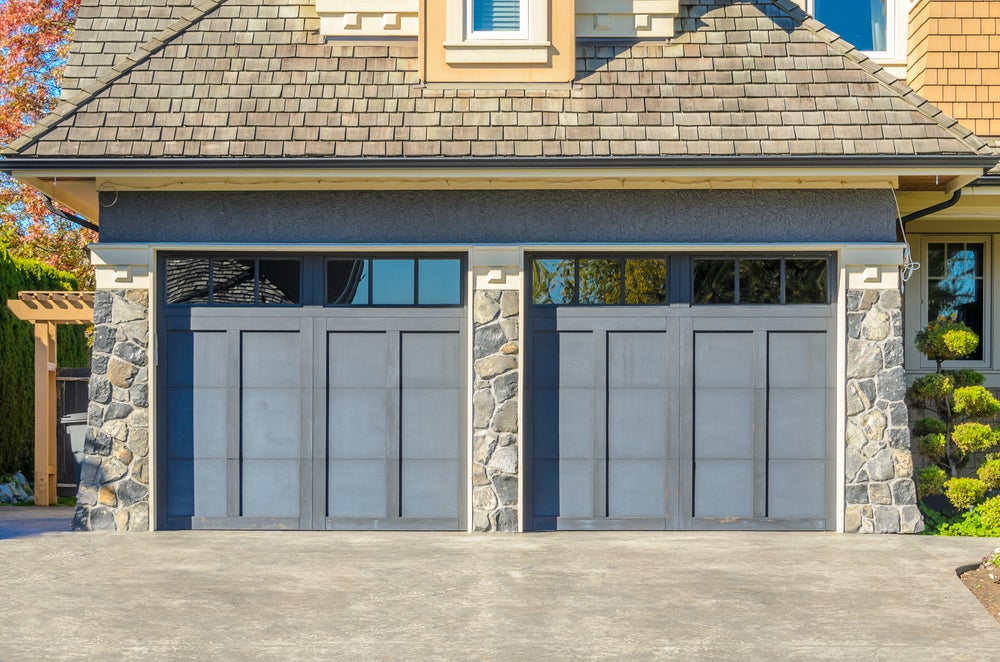
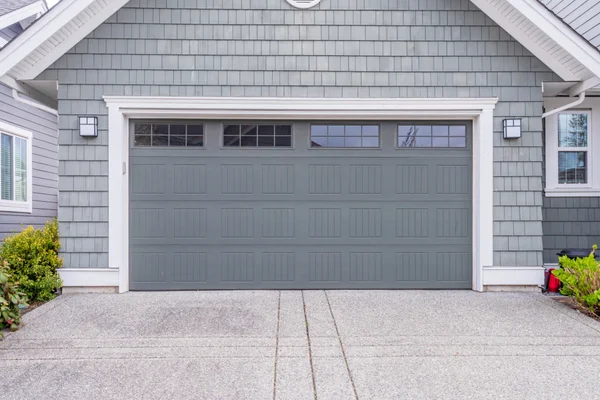
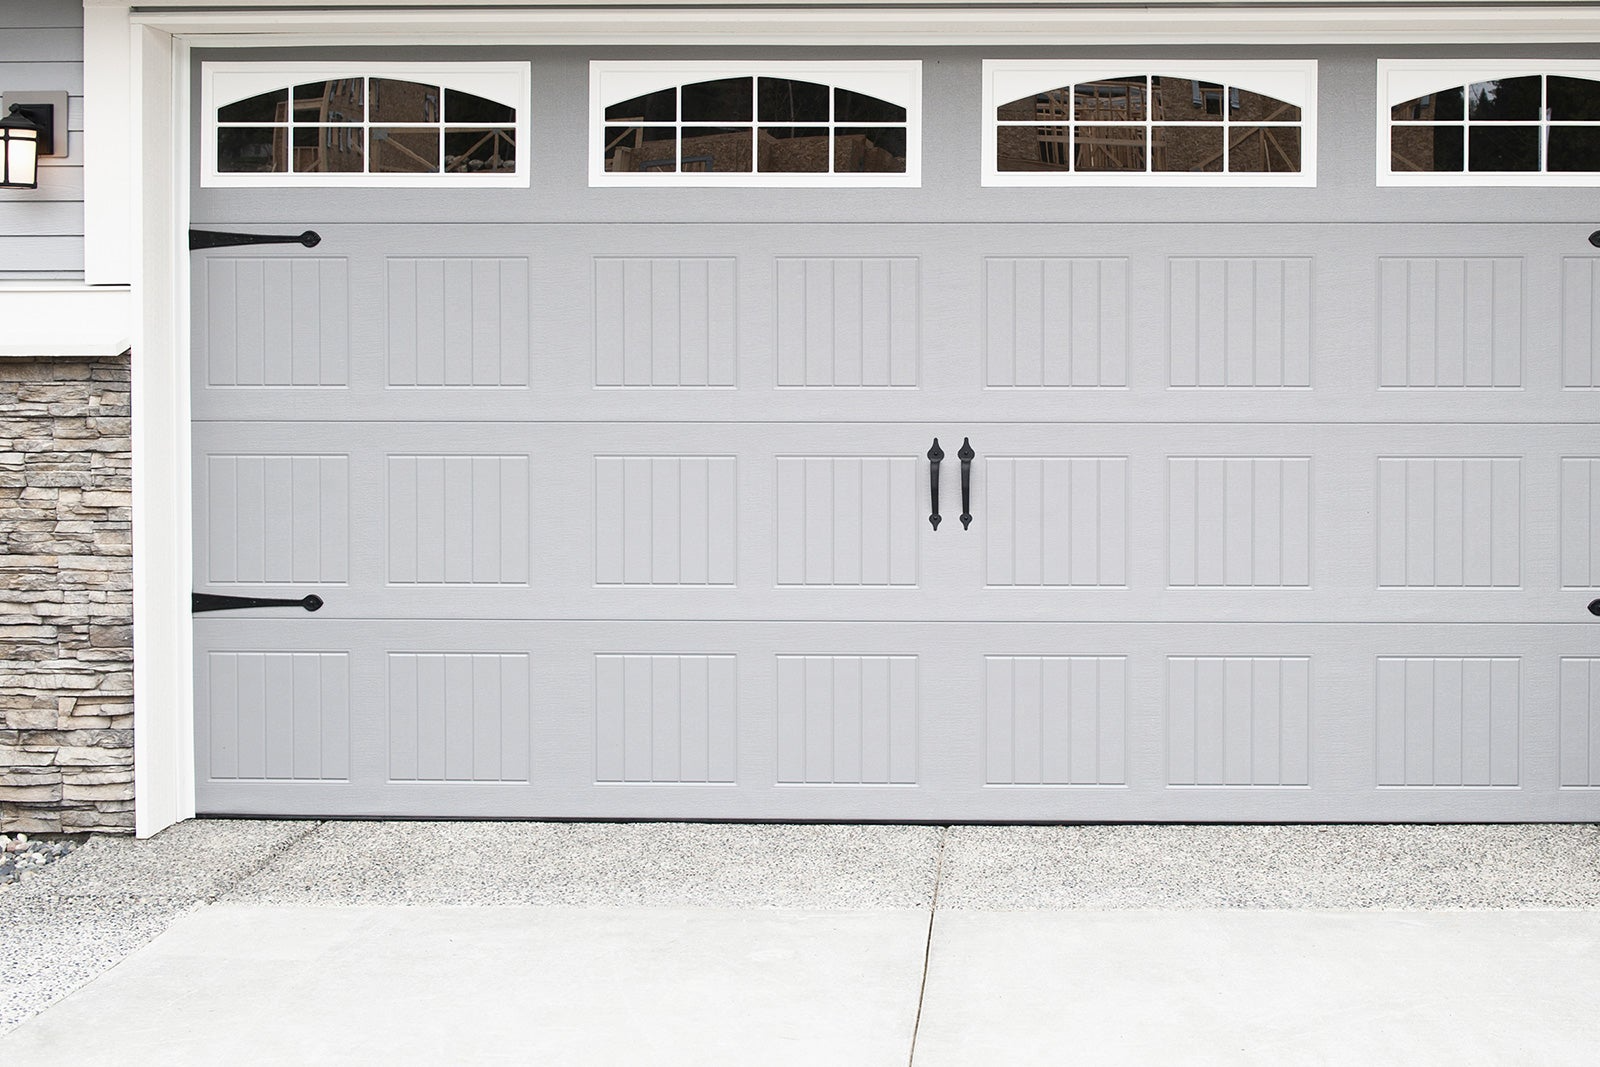
DIY Garage Door Trim Replacement

Garage trimming protects your door from water and weather damage. If the trimming becomes ragged and old, it’s most likely rotting and needs to be replaced. Good trimming not only ensures a good-looking garage door on the outside but also a protected one on the inside. Check your local hardware store for garage door trim kits. But if you can’t find one, here is a list of DIY garage door parts that you’ll need: 

  • Flat crowbar
  • Claw hammer
  • Diagonal pliers
  • Miter saw
  • Cedar trim: 3/4-inch by 3-inch by 96-inch
  • Fir studs: 2-inch by 6-inch by 96-inch (for interior perimeter trim)
  • 2-inch nails
  • Caulk
  • Paint

Now all you need to do is follow these steps to replace your garage door trim.

Step 1: Remove the Old Garage Door Trim

Place a flat crowbar’s tip under the trim. Using a hammer, press on its back and push it in as far as it will go. You’ll then need to tug on the crowbar to remove the trim. Take the crowbar out and position it 24 inches to the left or right. Then, place in the tip and continue to take out any remaining trim. Repeat this procedure around the garage door.

Step 2: Remove Nails

Take the trim in your hands and move it in a back-and-forth motion until it detaches. Don’t panic if it crumbles into pieces—this is normal. Remove all remaining nails from inside of the garage stud frame with a claw hammer and diagonal pliers.

Step 3: Measure the Top of the Garage Door

Now, from both inside and outside, you’ll need to get the sizes for the top of the garage door. If the trim is just found on the inside of the door opening, get the measurements for only the inside top door. With a miter saw, separate two pieces of trim to those sizes. (If you don’t own a miter saw, many hardware or home center stores rent them out.)

Step 4: Nail Trim Against the Frame

Insert the trim and position it with a hammer, nailing the trim against the frame. Be sure to separate the nails every 8 inches.

Step 5: Place in Nails

Measure the trim that is along the top outside door to the outer corners of each vertical trim piece that you just tacked on. Next, cut out a trim piece to that size and place nails in the top piece of trim to the header frame, separating the nails every 8 inches. If the trim is located on the inner side of the door, size it and cut a trim piece to fit between both vertical pieces. Then, place nails from the header on down.

Step 6: Paint

Drag a good amount of caulk along the perimeters of the new trim, both inside and outside. Close up all nail holes, cracks, joints, and seams with caulk. Now, it's time to paint. Just make sure to use exterior-grade paint.

Cleaning Up a Rusty Door Track

Garage door tracks are essentially the joints of your garage door because they allow your door to be lifted and lowered. So, they’re pretty important!

Sometimes these tracks can become rusted or damaged, so it’s important to maintain them to avoid any hard-to-ignore noises or dysfunction. If they’re beyond repair, your best bet may be to just start fresh and pick up a garage door track kit, but they may just need a good scrubbing. Follow these steps to get your garage door tracks running properly again.

Step 1: Remove the Grime and Dust

Start by filling a spray bottle with hot water and liquid detergent. The hot water helps with removing hard and stubborn oil or grease. Now, use the spray to take off any grime or dust from your garage door, one section at a time. Immediately after spraying each area, wipe it clean with a rag.

Step 2: Remove the Rust

Rust can be removed by scrubbing with steel wool. And for really hardened rust, you can use sandpaper or a sand sponge, which will help the paint stay on the surface while removing the rust. Then, scrub with a clean rag soaked in vinegar to remove any remaining amounts of rust.

Step 3: Apply a Coat of Primer

Now, you'll need to add a layer of primer to the treated spot. Once it's fully dry, apply a second coat. Keep in mind that the first layer may take up to two hours to completely dry.

Step 4: Paint the Door

shutterstock_1552022531.jpg

Finally, it's time to finish it off with paint. Make sure you paint the treated area with the same color as the rest of the garage door. You don't want to bring attention to your once rusted area. And if you no longer have that paint color, consider picking a new, vibrant shade for the whole garage door. Allow enough time for the paint to dry between layers.

If your garage door accidently comes off the track, use a pair of pliers to open the track and put the rollers back in the correct position. You can use a rubber mallet, if needed.

Now you’re all set with tips and tricks for fixing different garage door parts. Using these step-by-step instructions should help with the longevity of your garage door and save you money in the long run.

And when there’s just no fixing the problem on your own, American Home Shield is here to help. Take a look at our  home warranty pricing and plans, and determine which home service plan is best for your household. Happy DIYing!

Share:

DIY tips are for informational purposes only. Please be sure to take the appropriate safety precautions and ensure your project complies with any applicable federal, state, or local laws and regulations.

AHS assumes no responsibility, and specifically disclaims all liability, for your use of any and all information contained herein.

American home shield short logo mark

Don't worry. Be warranty.

Have a plan for your home when things don't go according to plan

Shop Home Warranties