Update Your Appliances With Stainless Steel Paint
  1. Home Warranty
  2. Blog
  3. Repair & Maintenance
  4. Update Your Appliances With Stainless Steel Paint
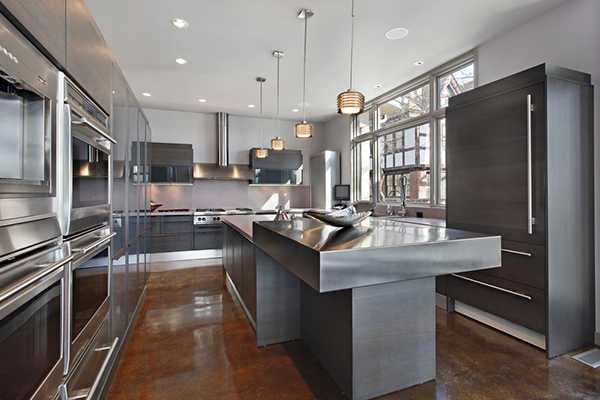
Stainless steel kitchen

Update Your Appliances With Stainless Steel Paint

Stainless steel kitchen

Transform your old appliances with stainless steel paint. Follow our tips on how to prep appliances, apply stainless steel paint, and how to make the new look last.

Are your appliances outdated? Out of style? Old fashioned?  While it may be tempting to simply replace them altogether, remember that few things can bust a household budget like brand-new appliances.  If they are in good, working condition, but you just don’t care for their appearance, you might be able to get a high-end stainless steel look without the high-end price tag with paint.  Here’s how.

  • Choose the right type of stainless steel paint. Appliances that get hot, like many stoves and toasters, require high-temperature stainless steel paint.  Avoid painting the cooking surfaces of glass-topped stoves and note that some paint types are intended for cast-iron stoves only.  Read the labels carefully. 
  • Liquid stainless steel is usually applied with a brush as opposed to spray-on products, takes several coats to get good results, and often comes with a clear finishing topcoat. Generally, spray-on products are best for decorative items and small appliances that don’t generate heat.  

Thinking about coverage?

Security for your home. Protection for your budget.

  • While you should always follow the specific directions for the stainless steel paint that you choose, here are some basic steps that you can expect when applying liquid stainless steel:
  • Remove handles from the appliance
  • Sand any rusty or rough spots
  • Clean the appliance to remove grease or grime
  • Use a primer on bare metal
  • Use painter’s tape around the inside of the door to prevent paint from seeping around the edges.
  • Use a roller to apply the liquid stainless steel
  • Drag a wide foam brush (often included with the paint) over the surface
  • Apply another coat, and brush the surface again in the opposite direction
  • Allow to dry and apply the sealer
  • Paint the handles and reattach them to the appliance after drying. 
Share:

Was this article helpful?

AHS assumes no responsibility, and specifically disclaims all liability, for your use of any and all information contained herein.

American home shield short logo mark

Don't worry. Be warranty.

Have a plan for your home when things don't go according to plan

Shop Home Warranties