3 Tips for Installing Outdoor Solar Lights

Need better lighting for nights in your backyard? Check out these tips for installing outdoor solar lights in your yard this summer.


Need better lighting for nights in your backyard? Check out these tips for installing outdoor solar lights in your yard this summer.
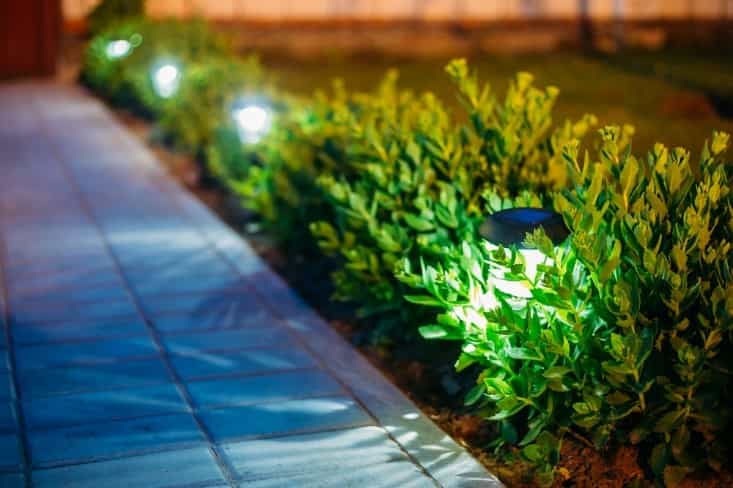
Solar lights are a great way to illuminate a path or walkway, or if you want to draw attention to a garden feature at night. Solar lights for your yard are affordable and easy to install. For the most part, installing solar lights is a quick backyard project. Take time to consider where you want to place your new lights and be sure to double-check that the lights are charged before placing them into the soil.
Follow these tips to ensure your new solar lights function at their best:
The most important thing to consider when installing outdoor solar lights in your yard is placement. What purpose would you like the lights to serve? If you’re lighting a path, you’ll want to place the lights fairly close together so that it’s easy to see where the walkway is, especially if it’s winding. If you want to illuminate a garden feature, you’ll need to place the lights close enough to it that they cast an appropriate amount of light on the feature in question.
You should also consider whether the placement of your lights could present an obstacle to maintenance or to using your lawn. You don’t want to place your lights where they’ll be difficult to mow around or where you’ll run over them with your car. You also don’t want your kids tripping over the lights while they’re playing outside during the day. Place them where they are plainly visible and where they won’t get in the way. It may be helpful to draw out a plan of where you want to install your new lights beforehand.
Of course, solar lights require sunlight to function, so you’ll also want to make sure yours get the maximum amount of direct sunlight each day. If you’re installing lights that have a separate solar panel, place the panel in a sunny location. Dig a trench at least six inches deep to bury the cables. You may want to enclose the cables in a plastic tube for further protection. That way, you’ll be less likely to accidentally cut through them while digging. Make sure there aren’t any branches or leaves hanging over your lights or your solar panel, and keep nearby plants cut back.

Thinking about coverage?
Security for your home. Protection for your budget.
Before installing your new solar lights, charge them first. Each of your new outdoor lighting fixtures will need at least 12 to 14 hours of sunlight to fully charge before you can install them. You can charge the new lights over a period of two days, if necessary. Leave them outdoors in a sunny place so the batteries are fully powered before you install your new lights.
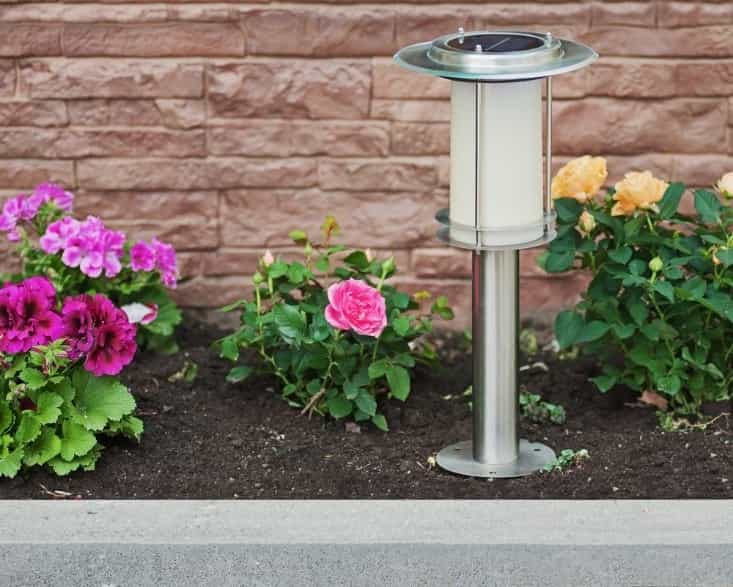
Most outdoor solar lights come on stakes that can be inserted into the ground. If you’re installing a set of lights that comes with its own solar panel, you’ll have to do more digging, and you may be more limited in where you can place them because the solar panel will need to be in a sunny location.
Installing new solar lights in garden beds may not require any special soil preparation. If the soil where you plan to install your new lights is hard and compacted, you’ll need to prepare the ground first because the stakes attached to the lights may not be strong enough to penetrate the soil. Prepare the ground by watering it thoroughly to soften it up. You can further soften the soil by loosening it with a shovel or a garden fork. Do this where you intend to place the lights and to prepare the ground for any digging you may have to do to bury cables or install a solar panel.
When installing your lights, remember not to force the stakes into the soil. If you push too hard and the ground has not been prepared adequately, you could break your new lights. If the stakes won’t go into the ground easily, prepare the soil further by wetting it and breaking it up.
Installing solar lights outside can be a cheap and easy upgrade to your outdoor space. They can add more lighting where it’s needed, accent your favorite landscaping features, and because they’re powered by the sun, they require no electricity and very little maintenance.
Maintaining smart home security gadgets is made easy with an American Home Shield plan.

AHS assumes no responsibility, and specifically disclaims all liability, for your use of any and all information contained herein.
Have a plan for your home when things don't go according to plan
Shop Home Warranties