

  1. Home Warranty
  2. Blog
  3. Repair & Maintenance
  4. How to Tile, Grout, and Caulk a Shower Yourself
brand new bathroom

How to Tile, Grout, and Caulk a Shower Yourself

brand new bathroom

Here’s how to DIY a shower installation or renovation and learn how to tile, grout, and caulk a shower yourself.  

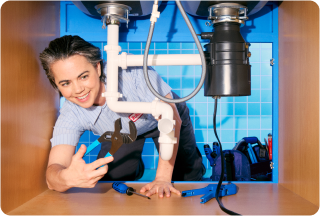
If you’re an experienced do-it-yourself weekend warrior and you enjoy a good DIY challenge, it’s entirely possible for you to tile, grout, and caulk a shower yourself. This could save you a lot of money and hassle, but know that this is a project that requires some experience with tiles and tools in order to get the best results. When in doubt, it’s wise to call in the experts. But, if you're ready to forge ahead, here’s what you need to know to tile, grout, and seal a shower yourself.  

Tools and materials you’ll need: 

  • tile 
  • electric screwdriver 
  • corded drill 
  • mixing paddle 
  • spacers 
  • pencil 
  • sanding block 
  • rubber grout float 
  • mask 
  • notched trowel 
  • 5-gallon bucket 
  • level 
  • broom 
  • tile nippers 
  • sponges 
  • safety glasses 
  • tape measure 
  • wet saw 
  • thin-set mortar 
  • screws 
  • metal spatula 
  • painter’s tape 
  • sanded grout 
  • unsanded grout 
  • grout sealant 
  • grout sponge 
  • bag 
  • buffing rag 
  • bathroom silicone caulk/sealant 
  • caulking gun 
  • commercial caulk remover 
  • utility knife 
  • commercial mold cleaner 

Step 1: How to Tile a Shower 

Choose Your Tiles and Plan Your Layout 

The secret to any successful tile installation is planning, planning, and more planning! The first step of any tiling project is to choose your tiles before you plan the rest of the installation. Once you’ve chosen your tile, decide on the layout of your tiles. It’s a good idea to measure all the areas (at least twice!) and make a diagram of the tiles on each wall. You’ll also want to plan out any border tiles or other decorative tile placement.

grout spacers on tile

Prep the Shower Area for Tile Layout 

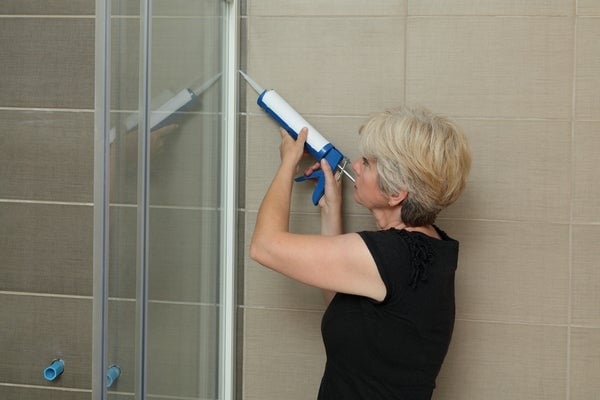
  • To start tiling, prepare by running a bead of silicone caulk around the perimeter of the area you are tiling to seal it. Use the back of a plastic spoon to smooth the caulk. 
  • Use a wet saw with a diamond blade to cut all the tiles. For example, you could cut two chair-rail tiles at a 45-degree angle to form a picture frame corner to border the shower. Tilting the saw base to 45 degrees gives the perfect cut. 
  • Use a 360-degree laser level to mark a line for laying the tiles.
  • With a 3/16" V-notched trowel, spread mastic just under the laser line and down the side of the tub wall to a small area. 

Apply the Tiles 

  • Use a laser level to continue to mark around the shower. Mark the laser line so that once you start to set the field tiles you’ll know when to start installing any accent tiles. 
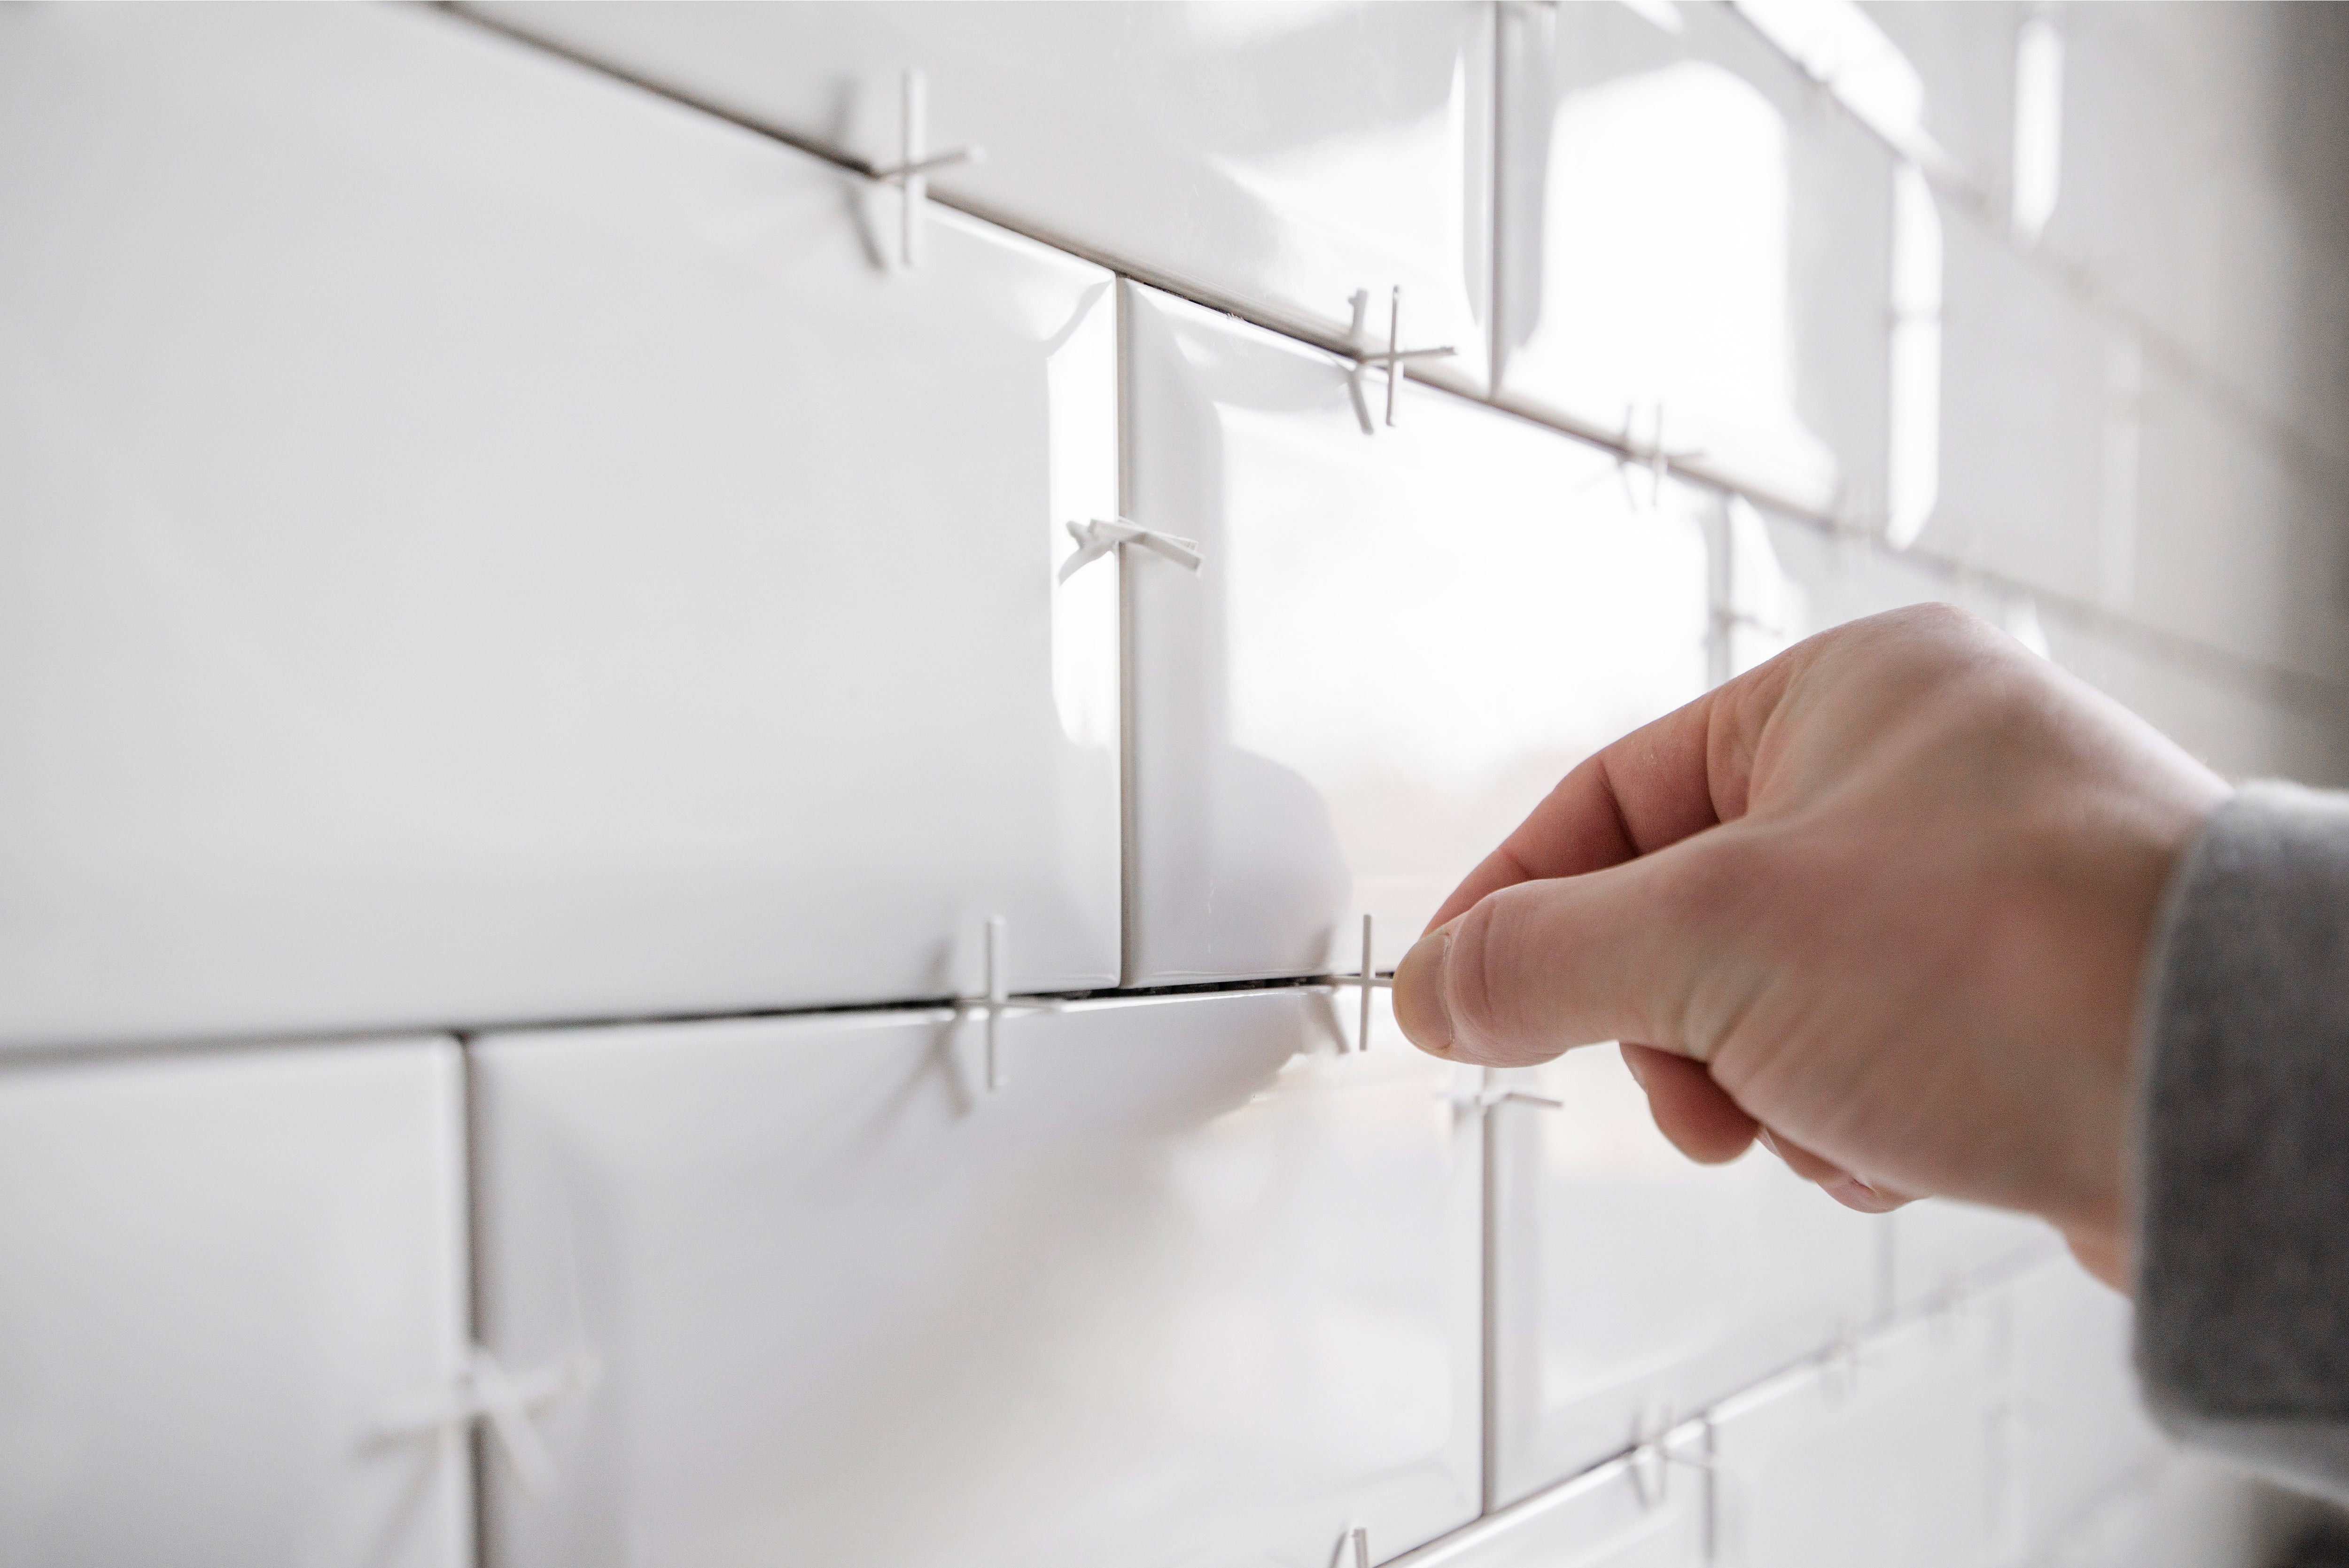
  • Slide the tile in from the corner and if you have an irregular piece, split the difference and cap the corners with small pieces you cut to size. This will give you a nice, clean line throughout the whole wall. For the second row, cut another tile so you can continue a staggered joint and then fill in the rest. 
  • To set the tile, apply an even coat of mastic on only a small portion of the wall at a time. You have about five to 10 minutes to set the tile, so don't apply too much adhesive over a large area. Apply the tile with a slight twisting motion.
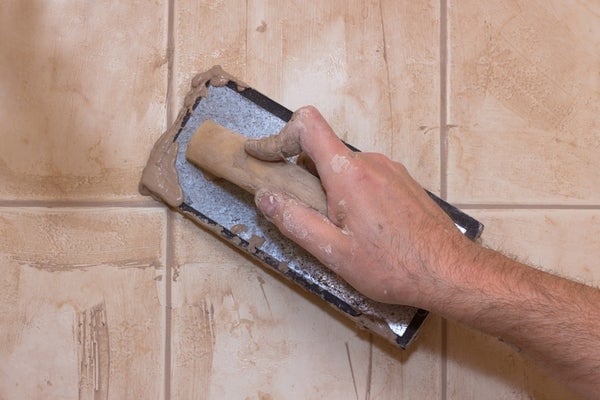
  • Allow at least 24 hours for the adhesive to dry before grouting. To prepare for applying the grout, tape to protect any neighboring walls or wallpaper. 

Thinking about coverage?

Security for your home. Protection for your budget.

Step 2: How to Grout Shower Tiles  grout float

Grouting is relatively more straightforward than installing tile, so you’ve completed the hardest part of the project. In the following video, Mark Donovan of HomeAdditionPlus shows us the best grout application techniques to use when applying caulk to shower tiles.  


Additionally, here are a few grout application tips and tricks: 

  • Use a waterproofing grout add-in product - These are liquid products that mix with your grout instead of water so that you don’t also have to seal the grout. You won’t have to spray on grout sealant at the end if you use one of these ingredients in your grout mixture.  
  • Work in small sections at a time - Do not apply all of your grout, all at once. Instead, you should apply grout in small sections of around 3’x3’ and then remove the excess grout from that section before moving on to another one. Don’t wait too long to remove the excess grout or it will become dry and difficult to remove from the surface of the tile.  
  • Check for bubbles or holes in the grout lines - It’s important to check for air holes or bubbles in the grout. Any spaces between the tile could allow water to penetrate and get behind the tiles. Use a flashlight and hold it flat against the wall to look for any dark spots in the grout, which are holes. If you see a hole, use your finger to patch it with grout and follow the usual drying times to remove the excess grout. 
  • Wipe the extra grout off with a sponge that’s flat against the tile - Although you should wipe off excess grout at a 45-degree angle using a grout float, you’ll want to lay your sponge flat on the surface of the shower walls or floor. Keeping your sponge flat helps to clean off more extra grout. This is especially true of irregular surfaces like pebble tiles, or smaller tiles where there is more grout per area. Use a damp sponge to wipe and rinse it often and change the water in your bucket often, too.  

Step 3: How to Caulk to a Shower   woman caulking shower door

This step is even easier than grouting, so you’re in the home stretch! Replacing the caulk around your tub, tiles, shower door, and drain is a relatively simple do-it-yourself fix that takes only a few hours from start to finish. Here’s how: 

  • Remove any old or existing caulk - If necessary, using a utility knife or oscillating tool, cut through any strips of old caulk. Scrape off as much as possible, and then apply a specialized caulk remover to any stubborn spots. If you find any mold in the process, be sure to remove it with a commercial cleaner or a homemade mold remover made of one part bleach to two parts water. Once the old caulk has been removed, wipe down the area and allow it to dry thoroughly before moving on, as caulk won’t properly adhere to a wet surface. 
  • Use painter’s tape to create a guide for the new caulk line - Painter’s tape will help ensure a clean bead. Use long strips of tape to mask off the surface on either side of the line where you want to apply the bead of caulk, whether that’s along the wall, shower door, or tub. To start the bead, apply pressure to the caulk gun or tube and either pull the gun away from your starting point or, holding the gun at a 90-degree angle, push the caulk in a forward motion.  
  • Caulk the corners and edges with caulk the same color as your grout - Colored caulk can be found at the home improvement store in the tile products aisle. It seals the edges of your shower where the wall meets the floor and blends right into the grout color. Read on for how to apply caulk to a shower.                                  
  • Apply the caulk in stages - Apply the caulk straight from the tube or use a caulking gun. Take care not to cut off too much of the tip from the caulk tube when loading a caulking gun. A wide opening will yield a thicker bead, which could lead to sloppy results. Cut the tip just above the indentation point that is usually marked on the tube.                                                                                
  • Remove excess caulk - Once the gap is full, wet your finger and wipe along the line to remove excess caulk and create a smooth, rounded bead. Peel off the painter’s tape while the caulk is still wet, and then continue to the next section to be caulked.                                                                                         
  • Allow the caulk to dry - When you’re done, allow the caulk to dry for at least 24 hours before using the shower.

And you’re now done with this project and you’ll be able to enjoy your new tile shower for years to come. Nice work! For the repairs you don't want to DIY, consider an American Home Shield home warranty. Our home warranty plans protect parts of up to 23 systems and appliances you rely on everyday, so when an unexpected breakdown occurs, we'll assign a Pro and get you back up and running again. 

Share:

AHS assumes no responsibility, and specifically disclaims all liability, for your use of any and all information contained herein.

American home shield short logo mark

Don't worry. Be warranty.

Have a plan for your home when things don't go according to plan

Shop Home Warranties