How to find and fix a leak in your sprinkler system in 4 steps
Many leaks can be fixed without professional intervention, saving you a ton on repair costs. Here’s how to find a sprinkler line leak and fix it yourself:
1. Locate the leak
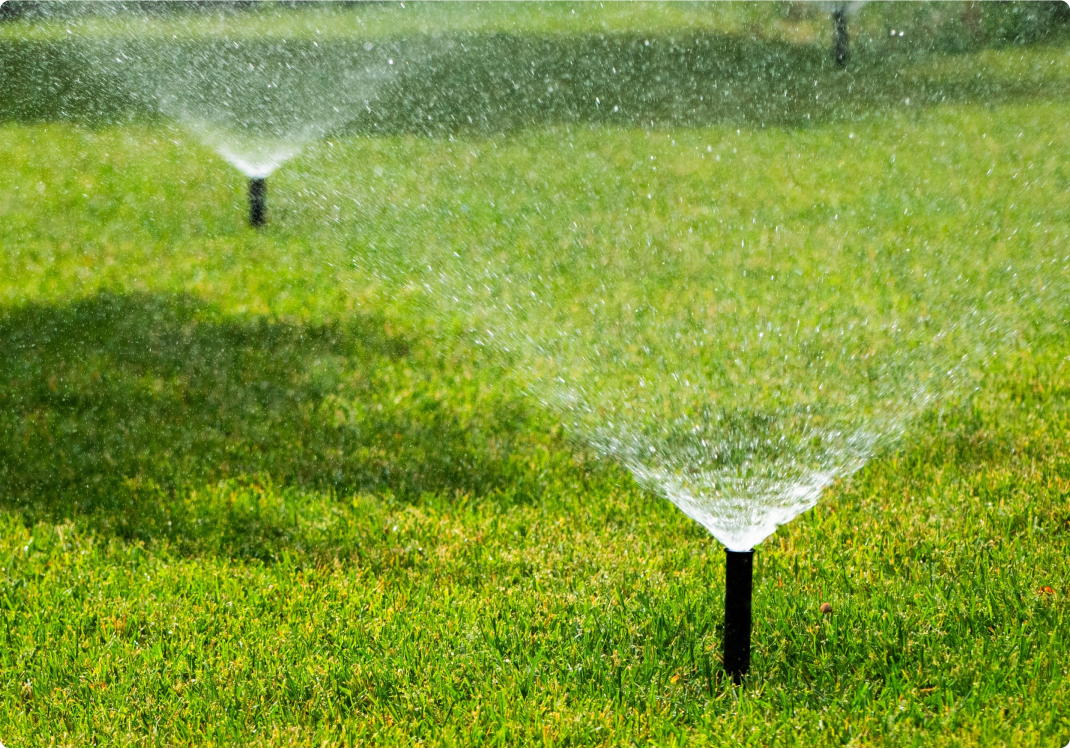
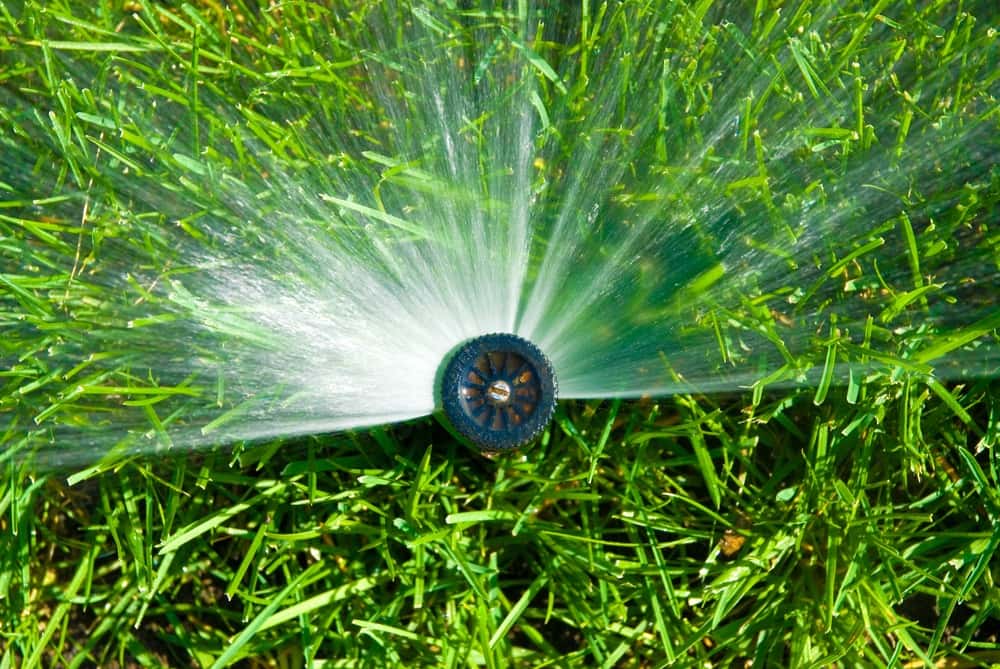
First things first, let’s talk about how to find a leak in a sprinkler system. Turn on your system and start by identifying the zone not working correctly. Look for sprinkler heads that don’t spray properly or have low water flow. You’ll likely find the leak or water line issue somewhere between a functioning head and several non-working ones, especially if that area stays wet and soggy.
2. Get your hands dirty and dig (but call first!)
Now that you’ve narrowed your search area, it’s time to dig. But hold your horses! Before you grab your shovel and turn your yard into an archaeological site, give your utility company a ring. They’ll help you mark underground service lines and keep you from accidentally creating a new problem while solving your sprinkler system leak.
3. Make the repair
After you’ve located the leak, you’ll need to assess the damage. Sometimes, the fix is as simple as tightening a fitting or replacing a damaged section of pipe. If you’re dealing with a broken sprinkler head, swap it out for a new one. For cracked pipes, you can use a repair coupling to fix the break. If you’re unsure or not confident in your DIY skills, it’s okay to call in a Pro.
4. Test the system
Once you’ve repaired the leak, it’s time to put your system to the test. Slowly turn it back on and observe the repaired area closely. Make sure water is flowing as it should, and be on the lookout for any more signs of leaks.
Prevent future leaks with proper maintenance
The best way to deal with leaks? Stop them before they start. Here are some easy ways to maintain your sprinkler system:
- Regular inspections: During the watering season, keep a close eye on your sprinkler system in action at least once a week and ensure they are positioned to water all areas of your lawn and garden.
- Be mindful of mowing and motor vehicles: Take care when operating lawn mowers and other lawn equipment near sprinkler heads, and keep vehicles off the grass.
- Control panel check-ups: Regularly check your control panel settings to ensure they’re correct and monitor the system’s water pressure.
- Nip issues early: Keeping a close eye on your sprinkler system allows you to catch small problems before they turn into big ones. Changes in pressure can be an early warning, giving you a head start on how to find a leak in your irrigation system.
When it comes to sprinkler system leaks, a little vigilance goes a long way. If finding a leak in your sprinkler system feels more like looking for a needle in a haystack, it might be time to call in the Pros.
Are water woes dampening your spirit? Don’t worry, be warranty.
At American Home Shield, we believe homeownership should be more about enjoyment and less about unexpected repair bills. Our home warranty plans cover a variety of systems and appliances, including your indoor plumbing systems. So the next time your pipes start playing tricks, you can sit back, relax, and let our network of trusted Pros handle your covered issue.
Check out our coverage options and learn about how we can keep your home running smoothly, from your shower to the kitchen sink.