1. Home Warranty
  2. Blog
  3. Repair & Maintenance
  4. How to Replace or Install a Bathroom Exhaust Fan: DIY Step-by-Step
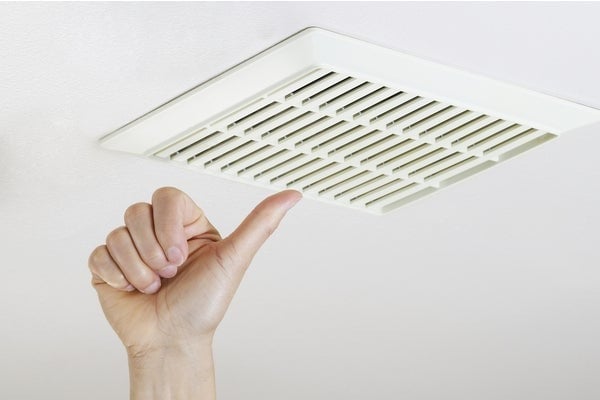
bathroom fans

How to Replace or Install a Bathroom Exhaust Fan: DIY Step-by-Step

bathroom fans

American Home Shield gives a step-by-step guide to bathroom fan installation or replacement. Learn more about how to fix your bathroom fan.     

You might be surprised to learn that installing or replacing a bathroom exhaust fan is a moderately easy DIY project. All you need are the right tools, basic electrical and carpentry skills, and a little patience. Follow these steps for how to install a bathroom fan or replace it. 

Bathroom exhaust fans remove moisture and foul odors and prevent mold and mildew from growing in bathrooms. They can also keep wallpaper and paint from blistering and peeling and prevent doors and windows from becoming warped. So if your bathroom doesn’t have a fan—or if you’re considering a bathroom remodel—it’s recommended that you put one in. According to HomeAdvisor, the cost to install a bathroom fan with a contractor can be as much as $800, whereas installing it yourself can cost up to $370 plus the price of tools. So, not only will this guide teach you something new, but it could also save you a little money.   

Grab your tools because this step-by-step guide will review how to install a bathroom fan and how to replace a bathroom fan. 

Prepare to Install Your Bathroom Fan 
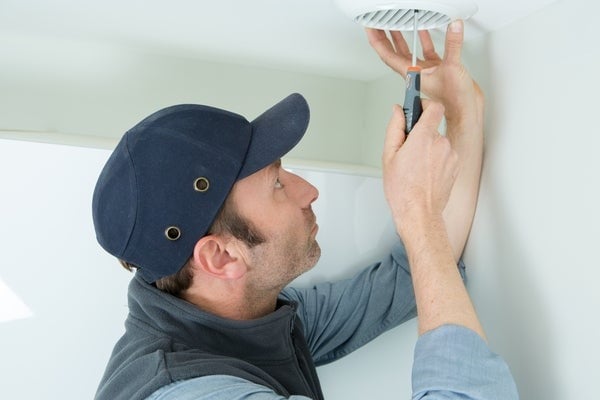
testing fan grate on ceiling

Before beginning a bathroom exhaust fan installation, you’ll need to gather the following pieces of information and answer a few questions first to make sure you’re buying the right fan for your space.  

1. Calculate your bathroom’s CFM rating. 

Calculate the CFM (cubic feet per minute) of your bathroom. Multiply the room's cubic footage (length x width x height = cubic footage) and divide that number by 7.5.Doing this calculation will help you determine the appropriate strength needed for your fan. 

2. How quiet do you want your new bathroom fan to be?   

A loud bathroom exhaust fan venting can make a relaxing shower, well, not so relaxing. Sound ratings on newer bathroom fans range between 0.5 (very quiet) and 6 (very loud). When choosing an exhaust fan, aim for a rating of 1 or less for the least disruption; though, a fan with a rating of 2 or 3 shouldn’t be too loud. 

3. Where do you want to install the new bathroom fan? 

The placement of the fan can impact ventilation. The best spot for a bathroom fan installation is at the center point between your shower and toilet. 

  • If you’re installing a new bathroom fan, be sure to scope the space out in your attic. This is where the bulk of the fan will be located. It should be between two joists in an unobstructed area. 
  • If you’re replacing your fan, it’s easiest to put the new one in the same location. 

4. Gather materials and supplies. 

Before starting your DIY bathroom fan installation, make sure you have all the tools and materials you need. 

You’ll want to assemble these tools before you begin: 

  • Power drill 
  • Screwdriver 
  • Combination pliers 
  • Jigsaw (or reciprocating or drywall saw) 
  • Foil duct tape 
  • Framing square 
  • Pencil 
  • If you're running the bathroom fan exhaust out through the roof, you will also need roofing cement, shingles, and roofing nails. 

You’ll need these materials: 

  • Vent cap 
  • Flexible duct pipe 
  • Caulk 
  • Screws 
  • Wire nuts 
  • Safety goggles 
  • Mask 
  • The fan itself, which can range anywhere from $15 to well over $100

How to Install a New Bathroom Exhaust Fan 
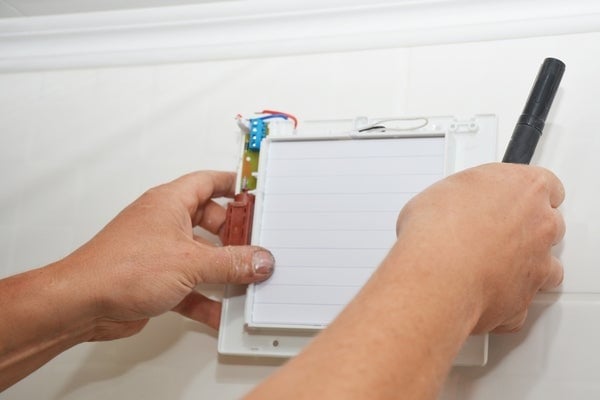
mark reference

Now that you have your tools and materials, you can start your bathroom vent installation.Let’s get started! 

1. Drill a reference hole and mark the ceiling. 

  • With your power drill and an extra-long, 3⁄4-inch (1.9 cm) spade bit, drill a reference hole in the ceiling where you will be placing the fan. Then, measure the vent fan housing. 
  • In your attic, find the reference hole and clear away any insulation surrounding it. Use the measurements for the fan housing to make sure the fan will fit between the joists. 
  • Return to the bathroom and measure the fan's intake port. Use a framing square and pencil to mark the outline of the fan's intake port on the ceiling with the measurements. 

2. Cut a hole in the ceiling for the intake port. 

  • Use your jigsaw to cut out the space you just marked on your ceiling. Remember to wear safety goggles and a mask! 

3. Put the exhaust fan in position. 

  • Before placing the bathroom vent fan in the hole, attach a 90-degree duct elbow to the appropriate outlet port using foil duct tape. 
  • Insert a cable connector through the knockout hole on the side of the fan's housing, then slide the supporting metal brackets into place. 
  • Center the fan over the ceiling hole and lower it into position. 

4. Secure the fan to the joists. 

  • After the fan is positioned correctly, extend each of the metal brackets until they reach the joists on either side of the housing unit. Use drywall screws to secure them. 
  • Take the length of flexible duct pipe and use foil duct tape to attach one end to the 90-degree duct elbow protruding from the fan housing. 
  • Run an existing or new electrical cable through the connector on the fan housing (if your new fan includes a light, you’ll need a three-wire cable), and secure it by tightening the screw on the connector.   

5. Find an exit point for the duct pipe. 

  • The exit point should be the shortest, straightest route from the fan housing to the outside, either through the sidewall or roof. Make sure the duct pipe is as straight as possible and won't be stretched too tightly. 

6. Attach the vent cap. 

  • If your exit point is on the sidewall, pick a point between two wall studs and take some reference measurements on the inside so you can locate the same point on the outside. Use a 4-inch hole saw to cut through the wall from the outside, then secure the bathroom vent fan cap in place. 
  • If your exit point is on the roof, draw an appropriately sized circle on the inside and use a reciprocating saw to cut it out. Then get on the roof and remove the shingles covering the newly cut hole. Install the vent cap with roofing cement and roofing nails, then replace any loose shingles. 
  • Go back into the attic and attach the end of the duct pipe to the vent cap's connector duct using foil duct tape. 

7. Wire the connections in the housing unit. 

Depending on the type of fan, you may need to wire the connections from the attic or the bathroom. Read the manufacturer's instructions and check that the power is off before you start. 

  • Open the housing unit and pull out the fan wires from the electrical splice unit. Strip 5⁄8 inch (1.6 cm) back from each of the wires on both the fan cable and the electrical cable you inserted earlier. 
  • Twist the same color wires together and add the connectors. Wrap the bare copper wire around the green grounding clip or screw and tighten it to secure. 
  • Place the wires back in the electrical splice unit and reattach the cover. 

8. Attach the grille. 

  • Plug the blower motor into the electrical receptacle and secure it with the screws provided. Attach the grille by slipping its mounting wires into the available slots in the housing unit. Make sure it's snug against the ceiling. Turn the power back on and make sure the bathroom fan is working. 

Great job! Now your bathroom will be properly ventilated. 

Thinking about coverage?

Security for your home. Protection for your budget.

How to Replace an Existing Bathroom Exhaust Fan 

If you just need to replace an existing bathroom exhaust fan, you’ll find it a little easier since you don’t need to cut holes in the ceiling or roof (phew!). Here’s a quick run-down of basic bathroom exhaust fan replacement.  
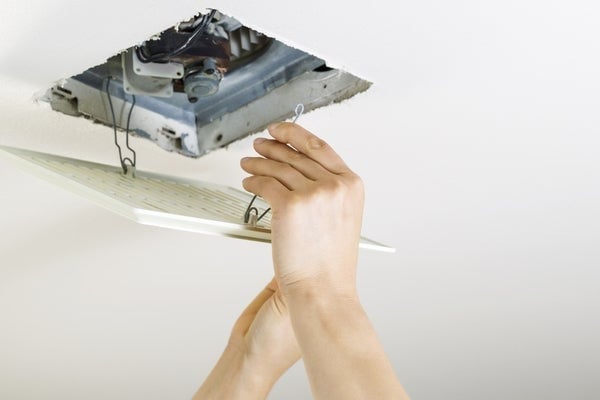
 disconnecting old fan clips

1. Turn the electrical power to the bathroom OFF at the circuit breaker. 

  • This will keep you from getting shocked. 

2. Get under the grille to unplug and disconnect. 

  • Remove the grille covering from the old fan. There is probably some dust and lint in there, so put on gloves, safety goggles, and a respirator mask. 
  • Unscrew or unplug the motor blower assembly from the housing unit, open the electrical splice unit, and carefully pull out the wires.  

If all you need to do is replace the bathroom fan motor, this is where you’ll stop. Bring the current motor to your hardware store to ensure you buy the correct model, then install it, reattach the wires, and put the grille back on. Want to know how to clean the grille? Check out our bathroom cleaning hacks.  

  • Remove the connectors and untwist the wires to disconnect them. (Again, make sure the electricity is off first.) 
  • Loosen the cable clamp to free the electrical cable from the fan housing. 

3. Detach the housing unit in the attic. 

  • In the attic, detach the duct pipe from both the bathroom vent fan cap connector duct and the housing unit. 
  • Pull the electrical cable and wiring free from the housing unit. 
  • Using your power drill, remove the screws holding the old fan's brackets to the joists. Lift the old fan through the ceiling. 

4. Install the new replacement fan. 

If your new bathroom vent fan is the same size as your old one, you can install it right away. If it’s bigger, you’ll have to cut a larger hole with a drywall saw. If it’s smaller, you can caulk around the edges of the housing unit to fill in the gaps once the fan is installed.  

  • Go to the attic and lower the new fan into the hole. 
  • Slide out the extendable mounting brackets and secure them to the joists using your power drill and 1-inch (2.5 cm) drywall screws. You may want someone to hold the fan in place from below. 

5. Connect the duct. 

Once the bathroom vent fan is in place, attach a 90-degree duct elbow to the fan's exhaust port using sheet metal screws. Then, attach a new 4- to 6-inch (10.2 to 15.2 cm) duct pipe to the duct elbow. 

6. Connect and secure the wiring. 

  • Insert the electrical cable through the new fan’s connector and secure it with a cable clamp. 
  • Open the electrical splice box (from either the attic or the bathroom, depending on the model) and pull out the fan wires. 
  • Attach the electrical wires to the fan wires by twisting the same color wires together and attaching a wire connector. 
  • Wrap the bare copper wire under the ground clip or screw and tighten to secure. 
  • Tuck all of the wires back into the electrical splice box and replace the cover. 

7. Plug in and reattach the fan grille.   

Go back to the bathroom and install the motor blower assembly by plugging it into the receptacle and screwing to secure. Then, attach the grille. Test out your new bathroom vent fan by turning the power back on.  
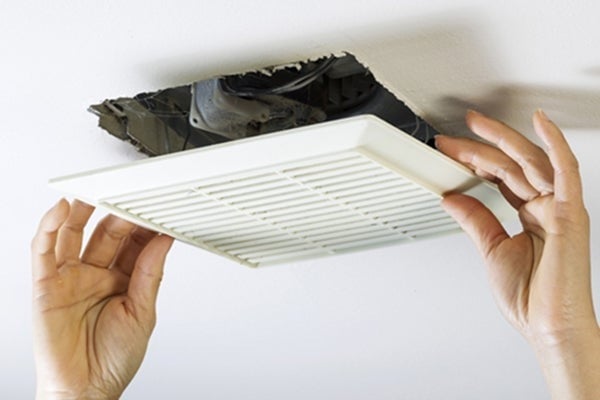
 fan installation complete

Congratulations! Now you know how to install bathroom fan, which will keep your bathroom clean and dry and protect it from mold and mildew. For the ultimate protection, consider getting a home warranty with electrical coverage from American Home Shield. We offer home systems coverage for up to 23 essential systems and appliances—including built-in bathroom exhaust fans—to protect your household and your budget from inevitable breakdowns. Learn more about our home warranty and our affordable warranty prices to choose the coverage that works best for you.     

Share:

AHS assumes no responsibility, and specifically disclaims all liability, for your use of any and all information contained herein.

American home shield short logo mark

Don't worry. Be warranty.

Have a plan for your home when things don't go according to plan

Shop Home Warranties