

How to Take Real Estate Photos (And How to Prepare For Them)
  1. Home Warranty
  2. Blog
  3. Real Estate Professionals
  4. How to Take Real Estate Photos (And How to Prepare For Them)
Real Estate Professionals
Article
2 minutes

How to Take Real Estate Photos (And How to Prepare For Them)

AHS Logo

One of the most important steps in selling a home is marketing it. And great marketing for a house requires stellar photography. 

Person taking photos

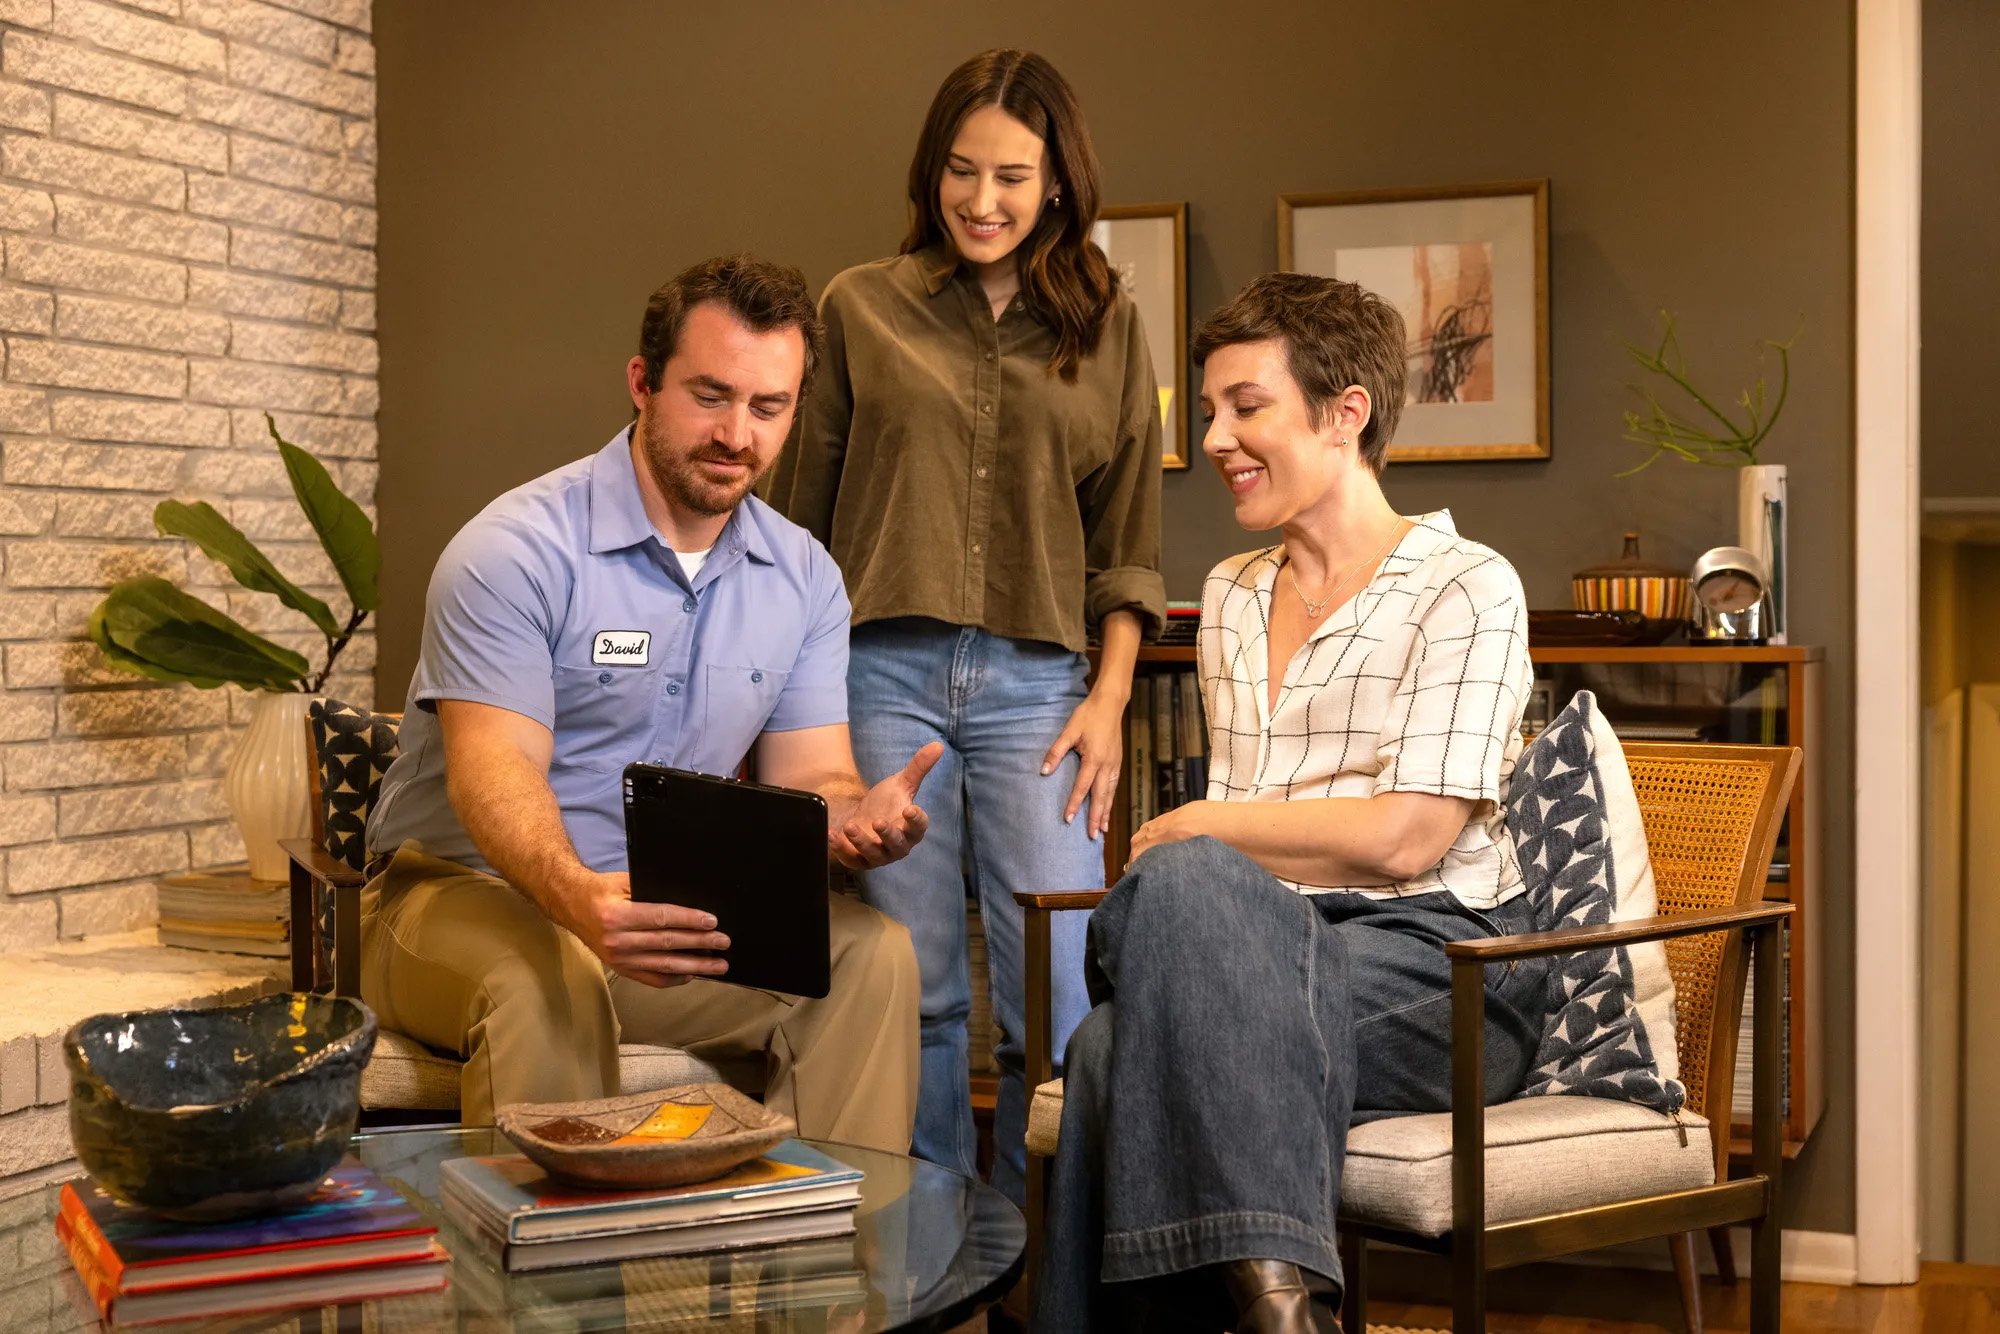
Whether you're hiring a professional or learning how to take real estate photos yourself, high-quality images are essential to creating a compelling home listing.

Unfortunately, real estate photographers often cost hundreds of dollars for a single shoot, and they may charge even more to incorporate videography and drone footage. 

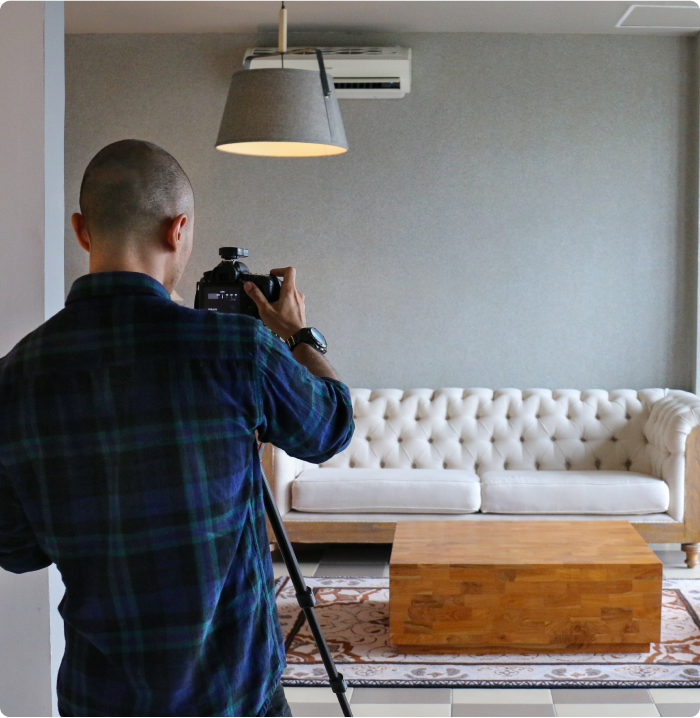
If you’re working with a small budget, learning how to take real estate photos can save you money while still producing high-quality images for your listing. 

11 real estate photography tips

You don’t need a professional photographer for professional quality home listing photos—just a little knowledge of how to take real estate photos. Follow our real estate photography tips for eye-catching results:

1

Tidy up

The focus in any real estate photo should be on the home—not any sort of mess accumulated throughout the week. One of the most overlooked real estate photography tips is to ensure every room looks clutter-free and polished. 

Pick up your laundry, video games, kids’ toys, and anything else that draws attention away from your home’s natural beauty.

Two helpful questions to consider when cleaning up your home for DIY real estate photos:

  1. Am I giving potential buyers a blank canvas to help them picture themselves and their families in this home?
  2. Am I preparing my home well enough to look like a professional photographer took the shot?

Whenever you’re unsure about a decision for your interior decorations, return to these two questions!

2

Steal staging secrets

Staging a home is an artform, but it’s one you can learn relatively quickly. The secret to great staging is to present your home in a way that makes it easy for potential buyers to see themselves living a beautiful, happy life within it. 

If you’re wondering how to do real estate photography that highlights your home’s unique features, follow some of these staging recommendations:

  • Remove anything personal. Take the family portrait down from above the fireplace, remove the kids’ school yearbook photos from the bookshelves, and hide the photos from your last family vacation. Seeing photos of your family around the house interferes with your buyers imagining their own lives inside the home. 
  • Remove anything religious or political. People are fiercely protective of their belief systems, and that includes religion and politics. You don’t know whether your guests will agree or disagree with your own beliefs, so it's best to put away these types of artwork, figurines, and posters.
  • Focus on selling a lifestyle. If you think your home is great for young couples, set the table in the dining room before taking pictures. If you think your home is perfect for small families, take great photos that showcase the size of the backyard. If you think your home is ideal for folks who appreciate their privacy, take an outdoor photo that shows the large yards on each side of the house—separating it from the neighbors. 
3

Deep clean your carpets

Most carpets are somewhere between 5 and 15 years old, and some could be layered in dirt, dust, and tiny debris. Combined, these contaminants darken the carpet’s color, absorbing light and distracting from the rest of your photography. 

If you have the budget to do so, have your carpets deep cleaned before your photoshoot. Professional-looking images often depend on how well the space is prepared, making clean carpets a must when figuring out how to take photos of real estate that stand out.

Make your home picture perfect. Book a carpet cleaning or HVAC tune-up today!

4

Touch up your paint

You know the chips in your paint that have been bothering you for ages? Now’s the time to fix them.

You don’t need to rush to repaint entire rooms, but you should cover those unsightly spots throughout the house that may ruin your otherwise great DIY home real estate photos. 

5

Use natural lighting to your advantage

Good lighting is a cornerstone of how to do real estate photography, making the sun your best friend. A bright, overcast day offers balanced lighting throughout your home, so open your blinds and plan to take photos during the daytime. 

And with that in mind…

Breakdowns are inevitable. Big repair bills don't have to be.

Learn how a home warranty helps cover unexpected system and appliance failures.

Explore Home Warranty Benefits 

Family looking at plans

Homeowner wiping window down

6

Clean your windows

Cleaning your windows to a streak-free shine boosts your natural lighting, but it also gives the interior and exterior of your home a polished look that really helps it stand out. 

7

Keep your photos at eye level

Don’t hold the camera too high or too low; keep it right where most buyers would look from if they walked inside your home. 

Remember: This isn’t the time to be artsy and flex your photography skills! Showcase your home exactly the way buyers and investors will truly see it. 

8

Figure out what you want to shoot ahead of time

Before taking a single photo, walk through the property and determine exactly what should be photographed (and from where) to make your listing pop.

Most professionals try to get at least the following shots:

  • One good photo of the bathroom
  • One or two photos of the front of home from different angles
  • One to three photos of the backyard
  • Two wide shots of the kitchen
  • Two wide shots of each bedroom
  • Two wide shots of the living room
  • One shot of additional features around the home, like the fireplace, built-in bar, or back porch
9

Fix your white balance

The white balance of an image determines the “temperature” of a picture. Too “cool,” and you’ll notice blue undertones in your colors. Too “warm,” and everything takes on a red patina. 

Most cameras—even the one on your smartphone—allow you to correct for this through your settings (and even your camera phone’s built-in filters can help). If necessary, you can also wait to use your photo editing software to fix the white balance and create images that are truly pleasing. 

Adjusting the white balance is a simple yet critical step in how to take photos of real estate that guarantees accurate and appealing colors in every shot.

10

Use the rule of threes

Steal this composition rule to help your home and its amenities really stand out! 

Imagine dividing your canvas into nine equal sections by drawing two equidistant lines vertically and two lines horizontally—so it’s divided into thirds in all directions. 

Now imagine those lines overlapping. Those four sections where the lines intersect are the best locations to put your focal point.

For example: if you have an outdoor fireplace or an ornate carved stairwell landing to show off, place that underneath one of the imaginary line intersections for an appealing, artistic photo. 

11

Clean up your yard

Pretend you’re inviting your friends and family over for your biggest-even cookout.

How would you want the yard to look? To get started:

  • Mow the lawn.
  • Trim the edges of your lawn.
  • Rake leaves and other debris.

And if you really want to show off:

  • Lay new mulch
  • Plant new flowers
  • Trim dead or unsightly branches

Make your listing stand out with American Home Shield

Now that you know how to take photos of real estate and how to do real estate photography, focus on the rest of your home. An American Home Shield® home warranty plan can help make your home more than just photo-ready. 

With coverage plan options for your home’s major systems and appliances, a warranty offers support when you need a tune-up or encounter a problem with a covered item—so you can keep your home in top shape and ready for potential buyers. Request a service today.

Seller's coverage is available to sellers only if they agree to purchase coverage for the buyer (appliances are not included in our seller coverage option and the HVAC tune-up is only available to buyers). The home warranty will help protect the seller while their home is on the market, but they can't get coverage without offering a buyer plan. A home warranty can help their home stand out from others on the market when they include a home warranty for the buyer. It also allows them to add the seller coverage option while their home is on the market for up to 6 months.

Still unsure about a home warranty? Look through our plans to find the perfect coverage options for you. With multiple choices to meet your budget, a home warranty can provide an extra layer of financial protection when disaster strikes, and brings peace of mind to you and your clients.  

AHS assumes no responsibility, and specifically disclaims all liability, for your use of any and all information contained herein.

Share:

Was this article helpful?

American home shield short logo mark

Don't worry. Be warranty.

Have a plan for your home when things don't go according to plan

Shop Home Warranties