How to test for radon
Luckily, detecting radon using an at-home kit is not difficult to DIY. These are our tips for approaching the process.
When and where to test
Radon levels can fluctuate based on factors like the time of year, weather conditions, and how well-sealed your home is. The best time to test your home for radon is during the colder months. During winter, we tend to keep our windows and doors tightly shut, trapping radon inside. This creates the perfect environment to get an accurate reading of how much radon is circulating in your home under normal living conditions.
To get the most accurate results, you’ll want to test the lowest livable areas of your home. If you have a basement or crawl space, these are prime locations since radon enters your home from the ground. Even if you don’t spend much time in these areas, they can still affect the air quality throughout your house. Place your test kit in a spot where it won’t be disturbed, avoiding drafts, high heat, or humid areas like bathrooms or kitchens.
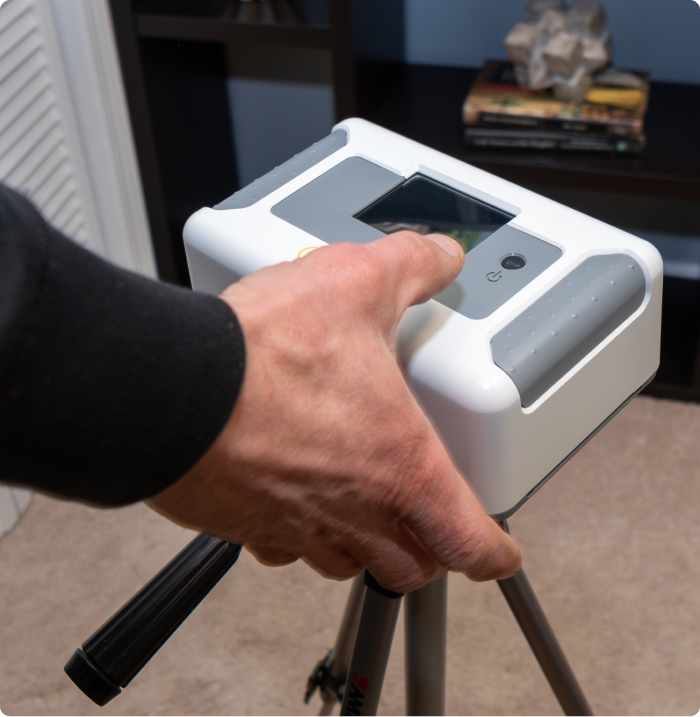
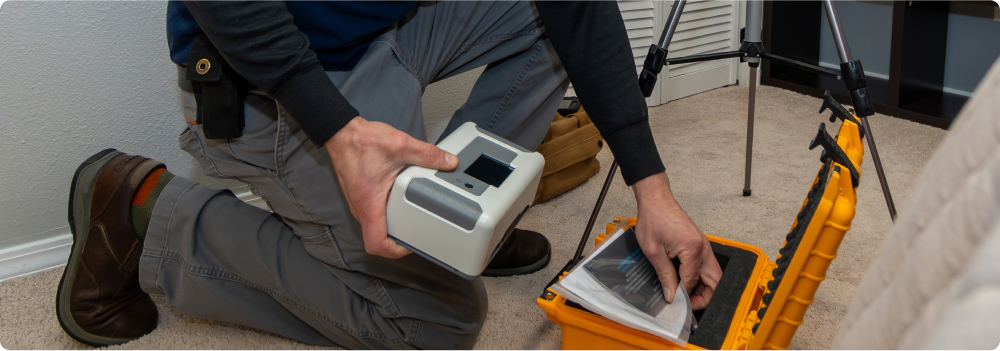
Steps for using the kit
- Choose which type of test: Decide whether short- or long-term fits your needs better.
- Set it up: Follow the instructions provided with your radon kit. For short-term radon testing, this usually means placing the test device in the lowest level of your home for 2 to 7 days. Make sure the area remains undisturbed, and keep windows and doors closed as much as possible.
- Send it off: Once the testing period is over, seal the device according to the kit’s instructions and send it to the lab for analysis. Many test kits include pre-paid shipping, so all you have to do is drop it in the mail.
- Wait for results: Lab processing times vary, but most results are available within a week or two. You’ll receive a detailed report indicating your home’s radon level and whether it falls within a safe range.

Interpreting your radon testing results
Once you’ve received your test results, the next step is understanding what those numbers mean. Radon levels are measured in picocuries per liter (pCi/L), which indicates the concentration of radon in the air. Here’s what to look for:
- Less than 2 pCi/L: Great news — your radon levels are considered safe. No immediate action is needed, though it’s still a good idea to retest every couple of years, especially if you live in a high-risk area.
- Between 2 and 4 pCi/L: Your levels are below the EPA’s action threshold, but they’re still higher than what’s ideal. Consider retesting or thinking about minor fixes to further reduce radon in your home.
- 4 pCi/L or higher: This is the EPA’s recommended action level. If your radon levels reach or exceed this point, it’s important to take steps to reduce radon exposure in your home.
What to do if your radon levels are high
If your test results show 4 pCi/L or higher, don’t panic. While these levels warrant action, there are effective ways to reduce radon in your home. Here’s what you can do:
- Retest: If your short-term test results were high, consider performing a long-term test to confirm the results. This will give you a better idea of your home’s year-round radon exposure.
- Contact a professional: If confirmed high radon levels are present, the next step is to contact a licensed radon mitigation specialist. They can assess your home and recommend a mitigation system, which usually involves installing a vent pipe system and fan to safely expel radon gas from your home. These systems can typically reduce radon levels by up to 99%.
- Keep testing: After a mitigation system is installed, you should retest your home to make sure that radon levels have dropped and remain at a safe level.
Breathe easy with American Home Shield®
Now that you know how to detect radon, you’ve taken a crucial step toward safeguarding your home and family. But it’s difficult to safeguard against everything, alone. That’s where American Home Shield® comes in.
With an American Home Shield home warranty plan, you can rest easy knowing that AHS will help make sure your home’s major systems and appliances are covered. From HVAC systems to water heaters and electrical issues, we’ve got your back when the unexpected happens. While you do your part to keep your home safe from radon, we’ll be there to help with the rest — helping keep your home functional and comfortable year-round.
Check out our Home Matters blog for more tips on keeping homes safe, from how to check your smoke detector to our recommended home maintenance projects for new homeowners.