The first step in any DIY lighting project? Grabbing some rays.
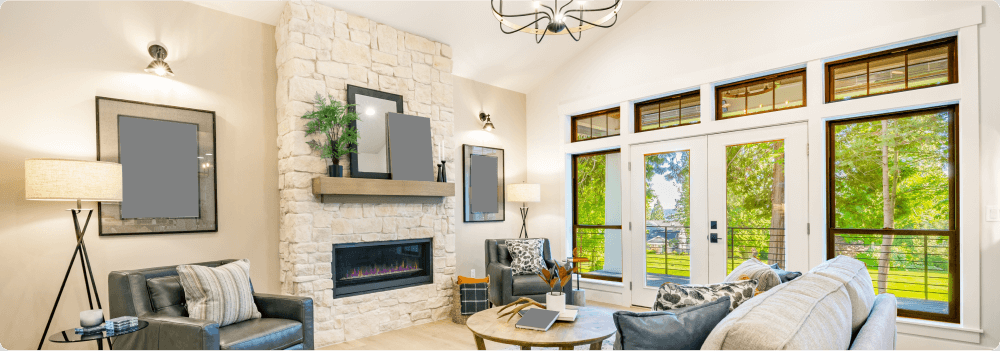
No amount of DIY lights can outshine the sun’s natural light, and of course, no DIY lighting option is more energy-efficient. During the day, just one strategically located window can give off as much light as dozens of light bulbs.
If your home has a southern exposure, you have an abundance of natural light to work with. South-facing homes tend to have the most light, but you could get light from every angle depending on how your house is situated. Keep your windows clean and consider filtering the light with blinds and curtains.
Taking full advantage of all that light can be as simple as sliding your reading chair near a south window, painting walls a light color, or using mirrors to bounce the light around, or as ambitious as installing bigger windows or adding skylights.
Enlighten your home
When you’re considering home lighting upgrades, keep in mind that different rooms may require different kinds of lighting. It helps to know the various types of bulbs, along with things called lumens and kelvins.

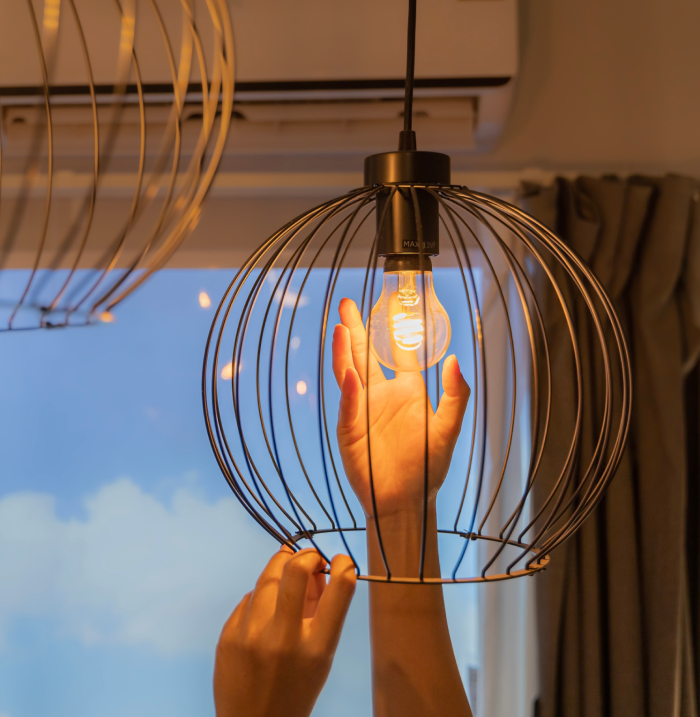
There’s a bulb for that - different types of lightbulbs
When selecting your lighting, you have a wide choice of light bulbs, each with its own unique features and benefits:
- Incandescent bulbs are the oldest and still most common. These inexpensive bulbs emit a warm, yellowish light, have a shorter lifespan, and use more energy than other options.
- Halogen bulbs are more energy efficient than incandescent. Plus, they provide a bright, white light. They can get hot, so it’s essential to handle them with care.
- Compact Fluorescent (CFL) bulbs last longer and are more energy efficient than incandescent bulbs but take time to reach full brightness.
- LED bulbs are long-lasting and highly energy efficient. They come in various color temperatures and brightness levels. They’re more expensive, but they’ll save you money in the long run.
It’s worth noting that in 2023, legislation went into effect in the United States that will prohibit light bulbs with an energy efficiency of under 45 lumens per watt, which rules out most incandescent and halogen options commonly used. This ban will mean it will no longer be legal to manufacture, import, or sell such bulbs. Instead, consumers will be encouraged to switch to more energy-efficient LED Bulbs.
What are lumens and kelvins?
Lumens measure the brightness of a bulb. The higher the lumen rating, the brighter the light. When choosing a light bulb, consider the room’s size how it’s used.
Kelvin (K) is a measure of a light source’s color temperature. Lower kelvin values produce a warmer, yellowish light, while higher values give off a cooler, bluish light.
Let’s go room-by-room
Living room: The living room may need ambient, task, and accent lighting. Go with LED or CFL bulbs with a color temperature of 2700 – 3000 K (warm white) and a brightness level between 1500 – 3000 lumens.
Kitchen: In the kitchen, you want bright, functional lighting. That means LED or halogen bulbs with 3000 – 4000 K (neutral white) and 3000 – 4000 lumens.
Dining Room: Warm the dining room with LED or incandescent bulbs with a color temperature of 2700 – 3000 K (warm white) and a brightness level from 3000 – 6000 lumens.
Bedroom: Relax the bedroom using LED or CFL bulbs with a color temperature of 2700 –3000 K (warm white) and 1000 – 2000 lumens.
Bathroom: For bathrooms, go bright and functional with LED or halogen bulbs with a color temperature of 3000 – 4000 K (neutral white) and 2000 – 4000 lumens.
All about switches
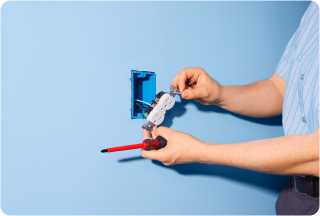
Dimmer switches can change a room’s entire mood of a room with just a touch. Installing a dimmer switch is a simple DIY project.
- Shut off the power to the circuit at the circuit breaker or fuse box. Double-check by flipping the light switch and using a voltage tester.
- Remove the switch plate and switch—you’ll need a flathead and a Phillips screwdriver.
- Detach the wires by loosening the screws holding them in place and then removing them from the side of the switch. Note the wire colors and where they’re attached.
- Wire the dimmer switch. There is normally a black, a white and a green or bare ground wire. Use wire strippers to cut and strip the wires to reconnect your new dimmer switch. Be sure to connect the wires as they were on the previous switch.
- Attach the dimmer switch to the box and reinstall the switch plate. Tighten the screws to secure the switch to the box, then fit the switch plate. Then turn the breaker back on and make sure the new switch works.
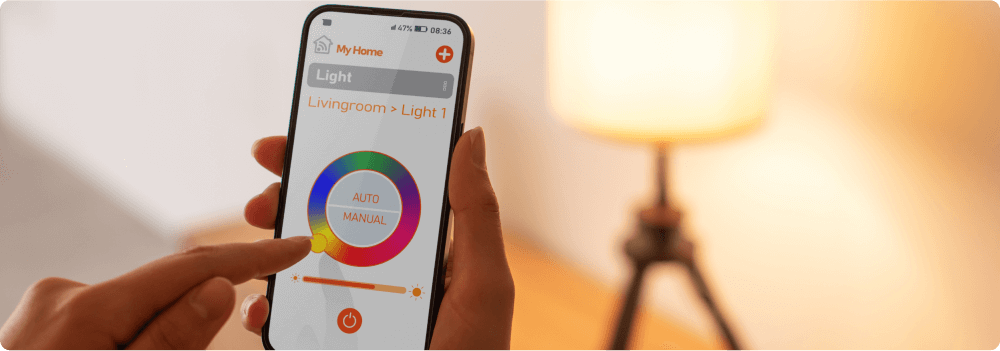
Smart lighting can be a convenient and easy lighting solution
Smart lights are Wi-Fi-enabled devices that connect to the internet via wireless networks. You can set timers for your lights and program them to turn on at set times, sync them with sunrise and sunset, dim or change their color, control groups of lights on more than one circuit, have them turn on and off based on motion, even control them using voice commands.