How to Caulk a Shower or Bathtub Like a Pro
Make your bathroom look fresh and new again when you seal the deal on your shower or bathtub with these quick caulking tips.
Make your bathroom look fresh and new again when you seal the deal on your shower or bathtub with these quick caulking tips.
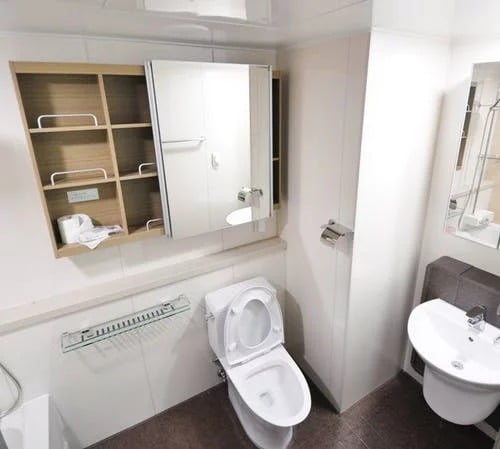
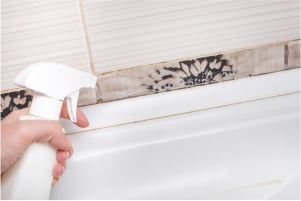
When water gets behind your tub or shower tile, it creates a warm, damp environment that’s the perfect breeding ground for mold and mildew. Before long you’ll start to notice a musty odor you can't get rid of. But a moldy bathroom isn’t something you just have to live with. All it takes is a little bit of research and patience to learn how to caulk a shower or how to caulk a bathtub like the pros do.
Recaulking a bathtub or shower creates a watertight seal. An added bonus is that when you recaulk a bathtub or shower, it will also make the bathroom look newer and brighter while getting rid of mold and mildew.
Below you’ll find simple tips so you understand the proper technique and materials for a clean, professional finish that not only looks great but also prevents water damage. Learn the signs that you have a problem, then dive into how to go about cleaning out the old caulk and how to recaulk a bathtub or shower.
Expert tip: Make your project easier by choosing a water-based caulk sealant like "Phenoseal" for effortless cleanup.
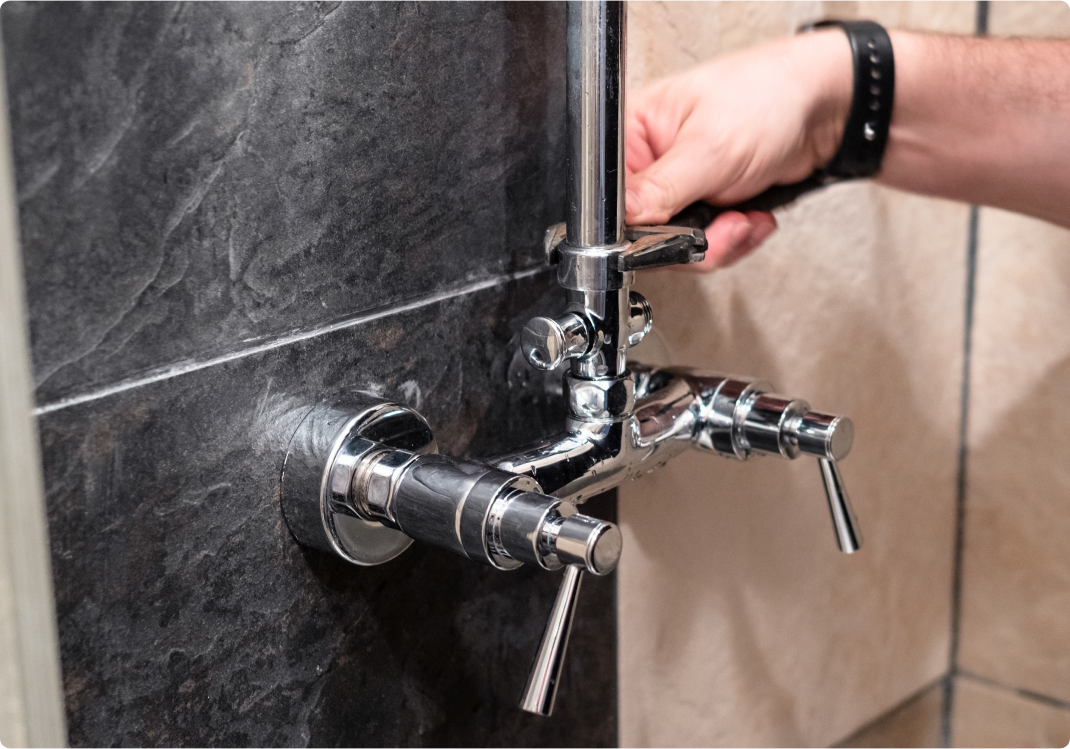
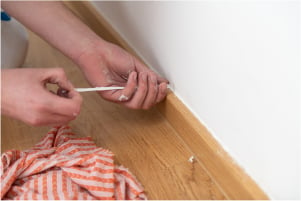
Chances are, you’re perfectly capable of handling a recaulk job on your own without having to call on a Pro. Just make sure you don’t overlook the critical step of removing all the existing caulk.
The first step in how to recaulk a bathtub or shower is using your utility knife or an oscillating caulk removal tool to slice through the caulk along the walls, then along the floor of the tub or shower.

Thinking about coverage?
Security for your home. Protection for your budget.
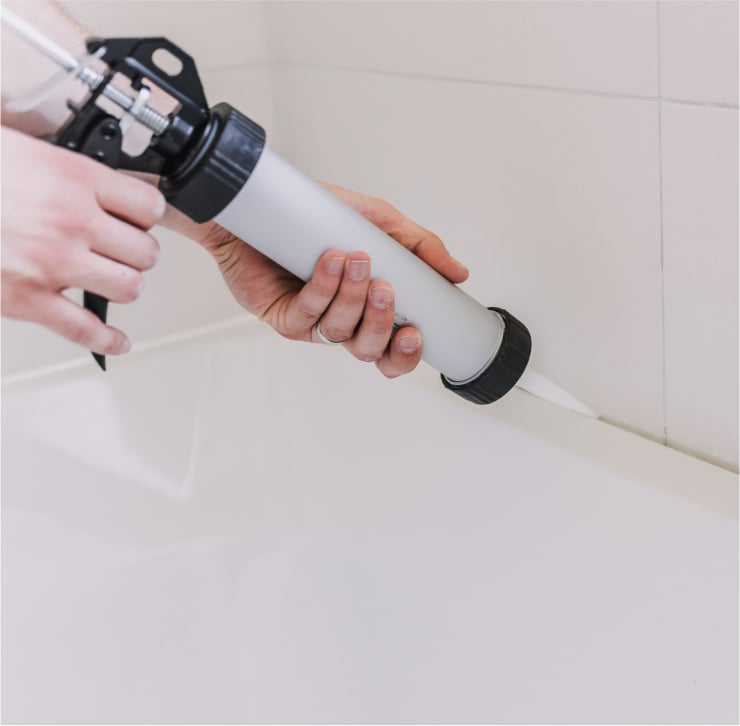
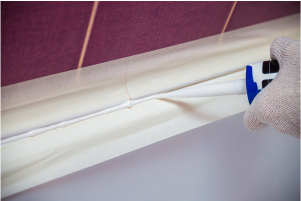
With the prep work done, it’s time to apply some new caulk. Here are the three steps to follow:
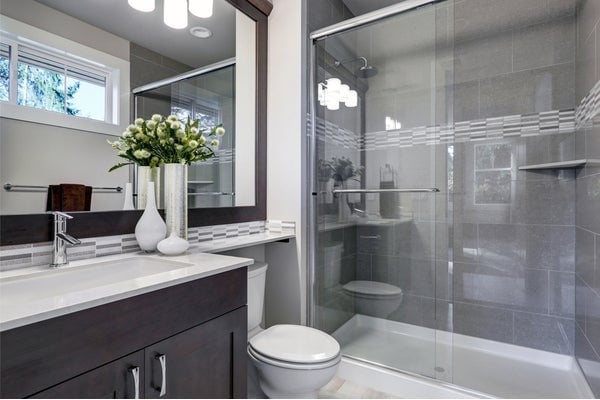
Even if you’re not a seasoned DIYer, recaulking a bathtub or shower is pretty simple. It’s also a fairly small fix that can make a big difference in the look and feel of your bathroom.
Things to keep in mind: Newly applied caulk can take a few hours to dry to the touch—and 24 hours or more before it’s cured. Once you make sure the bathroom is well ventilated, leave the caulk to dry. Check the manufacturer's directions for the amount of time for the caulk to be fully cured. And make sure you don’t use the bath or shower until the caulk is fully cured to prevent mold, mildew and water damage from happening again.
Knowing how to caulk a shower or tub can help you not only stay on top of your home’s maintenance, but give you some much needed peace of mind. So can the right home warranty plan. Find additional support and protection with a home warranty from American Home Shield. We can cover parts of your HVAC, electrical systems, kitchen appliances, and much, much more.
Not sure what a home warranty is? No worries! Check out our FAQs or contact us to learn more.
See how a plumbing protection plan can help with covered repairs.
AHS assumes no responsibility, and specifically disclaims all liability, for your use of any and all information contained herein.

Have a plan for your home when things don't go according to plan
Shop Home Warranties