You should clean your dryer lint screen after each load. To clean the screen, just lift up and wipe out the lint with your fingers, discarding the debris. The lint trap below can be vacuumed or cleaned out with a long brush. It’s important to note that keeping your lint screen and trap clear can help prevent clogs from building up in your dryer vent.
-
Turn off and unplug dryer.
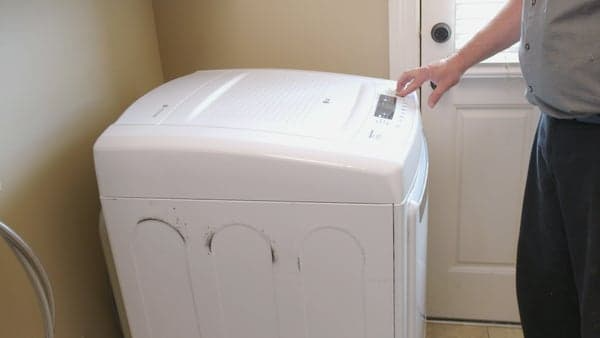
To clean the dryer vent, first unplug your dryer from the wall socket. If you have a gas dryer, turn off the gas before you go any further. If you don’t know how to shut off the gas, call a qualified professional or contact your local gas company.
-
Pull out dryer and remove vent clamp.
Now it’s time to perform a dryer duct cleaning. Pull out the dryer far enough to get access to the vent duct. You’ll have to unscrew the clamp that holds the vent pipe to the wall opening. Depending on the type of clamp, you can either squeeze to release it, or you may have to use a screwdriver to detach the clamp. Now is a good time to inspect the vent piping for cracks or other signs of deterioration and to replace it if needed.
-
Check for clogs in vent and remove.
Look into the vent to inspect it for any clogs or debris you can remove with your hands. (Reach in slowly and carefully in case you come in contact with anything sharp. Consider wearing gloves to protect your hands.) To clean further into the vent, you’ll need either a special dryer vent cleaning tool that you can purchase at hardware and home stores, another long-handled cleaning tool that won’t puncture the vent, a plumber’s snake or a vacuum. Be sure to clean the vent tube and components that you disconnected from the wall.
-
Use vacuum to remove debris from lent.
Using the dryer cleaning tool or vacuum, remove as much lint and debris as you can from as deep into the opening as you can reach.
-
Remove clogs from exterior vent.
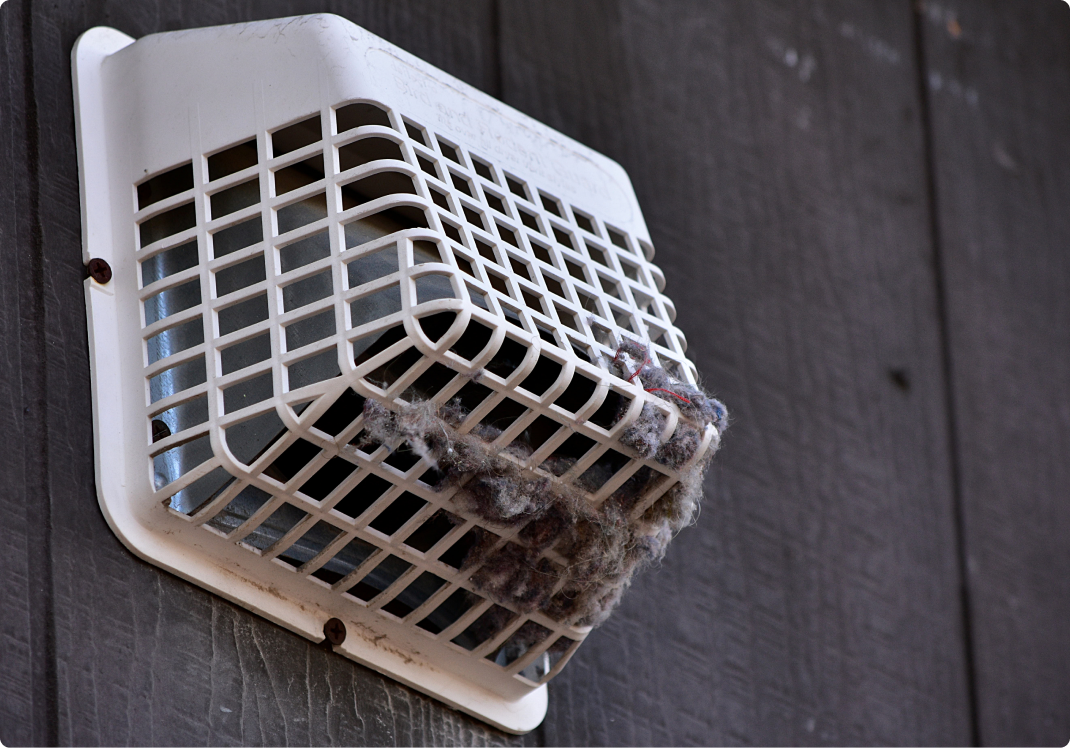
Now, it’s time to go outside and inspect the exterior vent opening, which is usually located outside the wall closest to your dryer or on your home’s roof. If your exterior vent has a covering or flap, remove or raise it so you can look inside. With gloves on, cautiously remove any clogs or debris you can reach with your hands, or use the same tools that you used to clean the opposite side of the vent.
-
Check for objects obstructing exterior vent.
Now is also a good time to inspect the area around the exterior opening to see if any plantings have grown around the vent, or if anything else is interfering or obstructing the airflow around it. If you have problems with birds nesting inside your exterior vent or with insects or rodents entering, consider installing a special ventilation cover that’s designed to prevent these problems.
Go back inside and reattach the vent to the dryer by fastening the clamp. Sweep or vacuum any lint or debris that fell out while you were cleaning.
Turn the power back on and start the dryer. Let it run for a few minutes to see if any other debris is loosened. Check the exterior side of the vent one more time to see if any new debris appears after air has gone through.
Dryer maintenance between cleanings
There are some steps you can take to minimize the amount of lint that your dryer collects.
- If you’ve washed pet bedding or lint-prone fabrics (like terry cloth and flannel), consider hanging the pieces outside to dry instead of putting them into the dryer. Keep the tub of your washing machine clean. Don’t overload your washer or your dryer.
- If you have any doubts about whether you were able to cleaned the entire length of the vent, if you noticed any cracks or deterioration or if you have questions about whether your vent components are safe and operable, contact a qualified professional for an inspection and cleaning.
- In addition to keeping your dryer operating safely, a thorough dryer vent cleaning can help your equipment perform more efficiently and effectively.
Consistent dryer maintenance is key to avoiding potential hazards and ensuring your dryer stays in top condition.
Dryer getting you down? Don’t worry, be warranty.
Even the best-kept dryer isn’t immune to malfunctions or sudden breakdowns, and the last thing you want is to find yourself with a heap of wet laundry and no way to dry it. With an American Home Shield® home warranty, your essential home systems and appliances will be protected when sudden breakdowns occur due to every day wear and tear.
With comprehensive coverage for up to 23 systems and appliances you rely on, including your clothes dryer, American Home Shield ensures you won’t have to get your hands dirty when dryer duct cleaning or repairs get too complicated. Simply place a service request to have a qualified, local Pro diagnose the problem and get you back up and running.
For more tips on tackling your washer and dryer woes, like what to do when your dryer won’t spin, check out the Repair Maintenance section of the Home Matters blog.


